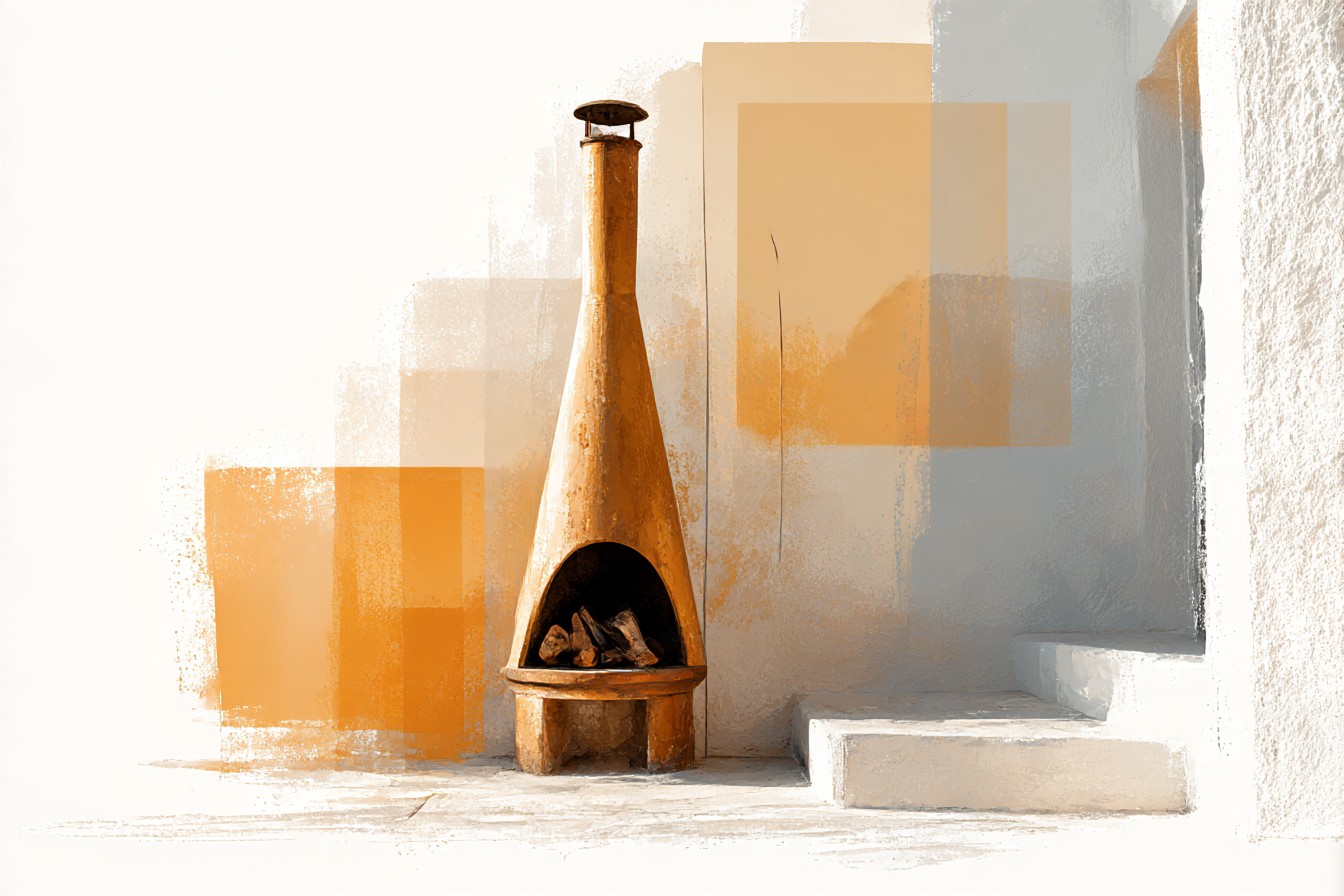
Okay so here’s the reputation chimineas have, and I bought into it completely for about a year: they’re basically decorative. Clay pot, cute silhouette, throw some wood in, done, it’s basically a fancier candle. Nobody talks about what’s actually happening underneath the thing while it’s running at like 600 degrees for three hours straight. I definitely didn’t think about it. I put my first chiminea, a $90 clay one from a garden center that smelled like a Home Depot forever, directly onto the wood decking of my old apartment, because it looked good on camera and I was mid way through filming a “cozy fall balcony” video and did not have time to think about thermodynamics.
Three uses in, there was a scorch ring. Not a small one.
An actual dark, slightly sunken oval burned into the decking that my landlord’s maintenance guy took one look at and went “yeah that’s not coming out, that’s charred.” Charred! On a rental deck! I sent a photo to my apartment group chat before I even fully processed what I was looking at, my roommate Delaney replied with just the skull emoji and the words “there goes the deposit,” and honestly, fair.
That’s the moment it clicked for me that a chiminea isn’t a decorative object sitting politely on top of your patio, it’s a slow, patient heat source radiating downward the entire time it’s lit, and clay ones especially throw heat out the base way more than people expect because there’s no proper ash pan doing the work a fire pit’s steel bowl does. The ground under a chiminea is doing actual structural labor. It’s not set dressing. It’s load bearing, heat bearing, everything bearing.
So I rebuilt my whole approach from the ground up, literally, and it turns out “what do I put under a chiminea” has like four or five genuinely different answers depending on whether you rent, whether you’re on grass, wood, or concrete, and whether you’re the kind of person who’s going to move this thing four times a summer because you keep rearranging your patio for content (me, I am that person). None of these are the “correct” single answer. They’re all solving slightly different problems, which is honestly the whole point of this post.
[Chiminea]
Pavers and Flagstone, the Boring Answer That’s Actually Right
I’m going to start with the least exciting option because it’s the one I should’ve used from day one. Concrete pavers or natural flagstone, laid directly under the chiminea’s base, is genuinely the standard answer for a reason, not because it’s trendy, it’s because stone doesn’t care about heat the way wood or turf does. My second apartment had an existing concrete paver patio, and I put my replacement chiminea, a cast iron one this time because I’d learned my lesson about clay retaining heat weirdly, right on top of the pavers with zero extra setup. No scorching. No discoloration. Nothing. It just sat there being fine, which after the deck situation felt genuinely suspicious to me for like a month, I kept checking underneath it like it was going to surprise me.
The one thing nobody tells you: not all pavers are equal. Thin, cheap concrete pavers, the kind that are basically glorified tiles, can actually crack under sustained heat because they weren’t rated for it, they crack the way a cold glass cracks when you pour boiling water in. You want the thicker patio grade stuff, at least two inches, ideally with a little gap or sand joint underneath rather than pavers sitting flush on packed dirt, because that gap lets heat dissipate instead of building up in one spot. Flagstone handles it even better since it’s a natural stone slab rather than a manufactured one, but it’s heavier to move around, which matters if, like me, your whole patio layout changes every time I get bored on a Sunday.
[Pavers and Patio Stone]
Heat Resistant Mats, the Renter’s Actual Best Friend
Okay this is the section for anyone reading this who does NOT have a permanent stone patio, because that was me for two straight years and I refused to accept it was a real limitation until my deck told me otherwise. A heat resistant deck protector mat, the kind sold for grills and fire pits, is honestly the single best purchase I’ve made for outdoor stuff, and I say that as someone who owns four different outdoor rugs I didn’t need.
Mine is a thick composite mat, dark gray, about three feet square, and it sits under the chiminea on the deck with zero drama. I filmed a whole “what I actually use to protect my rental deck” video with it and it did numbers, way more than I expected, because apparently I’m not the only person who scorched a deposit item learning this lesson. The mat traps heat from below without transferring it into the wood, and it’s rated for way higher temps than you’d think you need, which matters because chimineas run hotter and longer than a lot of people assume, that low steady burn is deceptive.
The catch, and I’ll be honest about this because Freya doesn’t do fake enthusiasm, cheap thin mats under fifteen dollars are basically useless, I bought one early on that started smelling faintly of hot rubber after twenty minutes and I yanked the chiminea off it so fast I nearly knocked the whole thing over. Spend the extra money. It’s still cheaper than replacing decking, and it survives move-out inspections, which is the actual metric that matters to basically everyone reading this.
[Heat-Resistant Mats]
Gravel or Paver Base, for When You’re Committing to a Spot
If pavers feel like too much of a project and a mat feels too temporary, there’s a middle option that I underrated for way too long: a gravel or crushed paver base laid directly on the ground, usually a few inches deep in a circle or square wider than the chiminea’s footprint. This is what I ended up doing in my current backyard, a rented house with actual grass, because putting a chiminea straight on grass is a genuinely bad idea, it kills the grass instantly in a perfect circle and the heat can smolder into dry patches nearby if things are dusty enough.
You Might Also Like
I dug out a shallow area, laid landscaping fabric down first so weeds don’t push through later, and filled it with about three inches of pea gravel. It took me an entire Saturday and I definitely underestimated how many bags of gravel I’d need, made two separate trips to the hardware store looking increasingly unhinged pushing a cart with forty pounds of rock in it. But it works. The gravel doesn’t ignite, it doesn’t scorch, and it drains water so I’m not dealing with a muddy mess every time it rains, which, living somewhere with actual seasons now, happens constantly.
The honest downside is stability. Loose gravel shifts under a chiminea’s legs over time, especially if it’s a heavier cast iron one, so I had to go back and level it twice in the first month. If you go this route, pack it down properly first, don’t just pour it and walk away like I did.
[Gravel and Loose Fill Bases]
Concrete Pads, the One You Do Once and Forget
This is the option for people who know they’re staying put, which, to be clear, was never me until very recently, so I only have secondhand credibility here from my aunt who’s had the same chiminea sitting on a poured concrete pad in her yard for what feels like a decade. A precast concrete slab, or a properly poured pad, is the most permanent, least fussy answer to the whole “what goes under this thing” question, because concrete simply does not care about heat, cracking, discoloration, any of it, assuming it’s proper outdoor rated concrete and not something thin and decorative.
I finally installed one myself this spring, a 24 by 24 inch precast slab from the same garden center that sold me my ill-fated first chiminea, and setting it up took maybe twenty minutes including the part where I used a level obsessively because I have trust issues now. It sits slightly recessed into the grass, edged with a thin paver border so the mower doesn’t catch on it, and the chiminea’s had a stable, heat safe home ever since. Zero maintenance. I don’t think about it. Which after two years of thinking about almost nothing else outdoor-fire related feels genuinely luxurious.
The tradeoff is obvious: it’s not portable, it’s a small landscaping project rather than a five minute fix, and if you’re renting somewhere without a landlord who’s fine with it, this isn’t your move. But for anyone with a permanent spot picked out, it’s the closest thing to a “solve it once” answer in this whole post.
[Concrete Pads and Slabs]
The Legs and Stand Underneath It All
Here’s the part almost nobody thinks about because it’s not technically the ground, it’s the chiminea’s own base, but it matters just as much for stability, so I’m including it anyway. A lot of chimineas come with a thin metal stand or three little legs, and those legs are doing more work than they look like they are, they’re the actual contact point transferring heat down and keeping the whole thing from tipping. My cast iron one came with a stand that felt genuinely flimsy out of the box, wobbled if you nudged it, which is terrifying when there’s an open flame involved.
I ended up swapping in a slightly wider, heavier duty stand I found specifically listed as chiminea compatible rather than using the stock one, and the difference in stability was immediate, no more wobble even on slightly uneven gravel.
If your chiminea’s stand feels shaky even a little, don’t ignore it, a top heavy clay or iron body on a bad base is exactly the setup that ends with the whole thing tipping over, and that’s a much bigger problem than a scorch mark on a deck.
[Stands and Legs for Stability]
Final Thoughts
If you take one thing from all of this, let it be that a chiminea is never just sitting there looking cute, it’s actively doing something to whatever’s underneath it the entire time it’s lit, and that “whatever” needs to actually be able to handle it. I went from scorching a rental deck to having genuinely too many opinions about paver thickness, which feels like a wild arc for one appliance to send me on, but here we are.
None of these five options are wrong, they’re just answering different questions. Renters, go mat first, it’s cheap insurance and it survives an inspection. Committing to a spot, gravel or pavers. Never moving again, pour the concrete and stop thinking about it. And whatever you land on, check the actual legs your chiminea’s standing on too, because a scorch mark is annoying, a chiminea tipping over is a genuinely different kind of problem. Learn from my deck. It did not deserve what I did to it.