
I set fire to a lampshade once. Not dramatically, no flames licking the ceiling, but enough scorching on a scrap of William Morris style wallpaper that the whole apartment smelled like burnt toast for two days and I had to explain to a client, over the phone, why her “quick styling refresh” now included a trip to the hardware store for a fan. The wallpaper was leftover from a client’s powder room, a gorgeous chalky blue floral I’d been hoarding in a cardboard tube for months because I couldn’t bear to throw it out. The shade was a plain white drum I’d had lying around. The glue was whatever was under my sink, which turned out to be a craft spray adhesive rated for paper and fabric, not for sitting four inches from a 60 watt incandescent bulb for six hours a night. I found that out the hard way, watching a faint brown ring creep across the pattern like a slow motion sunburn.
So yes.
Can you put wallpaper on a lampshade. Obviously, people do it constantly, there are entire Pinterest boards devoted to it, it looks gorgeous in photos taken with the lamp switched off. The actual question, the one nobody answers properly, is whether it survives being switched on. That’s the whole project. Not the sticking, the surviving.
I’ve redone that same shade three times now, which tells you something about either my stubbornness or my inability to admit defeat to a piece of paper, and I’ve landed on a version that’s held up for over a year of nightly use without so much as a yellow tinge. It’s not complicated once you stop treating it like decoupage and start treating it like you’re building something that has to live near a heat source, because that’s actually what it is.
This is a proper leftover scraps project, by the way, not an excuse to buy a new roll. If you’re buying a full roll specifically for a lampshade you’ve missed the point slightly, though I won’t stop you. The best results I’ve had came from offcuts, sample books, the bit left over after papering a hallway that’s too small to use anywhere else and too pretty to bin. That’s the whole appeal. It turns a scrap into something that earns its spot on a side table instead of sitting in a drawer feeling guilty.
[Wallpaper Lampshade]
The Wallpaper Itself Matters More Than You’d Think
Not all wallpaper behaves the same way once it’s wrapped around a curved frame and sitting under warm light, and I learned this properly when I compared two scraps from the same sample book side by side, a traditional pulp paper and a vinyl coated one, because I assumed they’d behave identically. They didn’t. The vinyl one held its color completely, no fading after months, but it’s thicker and stiffer, which means it doesn’t want to curve around a drum shade smoothly, you get a slight ripple at the seam no matter how patient you are with it. The traditional pulp paper curves beautifully, wraps like it was born to, but it’s the one that scorched on me, because pulp paper doesn’t handle sustained heat the way vinyl does.
My actual rule now, checked against every project since: if the paper is thin enough to see light through when you hold it up to a window, it’s thin enough to discolor near a bulb eventually, full stop. Grasscloth is gorgeous and I want it to work, I’ve tried it twice, and both times the texture caught dust in a way that looked fine in a photo and looked exhausting in person three weeks later. Peel and stick wallpaper, the kind marketed as removable and “renter friendly”, is actually one of the better options here because the backing is usually a thicker vinyl blend built to survive being repositioned, which incidentally means it survives heat better too. I didn’t expect the rental market’s laziest wallpaper option to be the craft project’s best friend, but there it is.
[Wallpaper Scraps]
The Glue Question Nobody Answers Honestly
Everyone tells you Mod Podge. I used Mod Podge on the scorched shade, the matte formula, applied in what I thought was a sensible thin coat, and it went slightly tacky again every summer when my apartment hits about 78 degrees with no air conditioning, which meant the seam edges lifted just enough to catch on a duster. Not a disaster, but not what I wanted from something I’d spent an evening on.
What’s actually worked, tested across three shades now, is wallpaper paste itself, the proper stuff, applied thin and given a full 24 hours to cure completely before the shade goes anywhere near a bulb. It dries harder than Mod Podge, it doesn’t soften in heat the same way, and because it’s designed to bond paper to a surface and stay there through years of central heating in an actual room, it’s frankly better engineered for this than a craft glue ever was. Spray adhesive, the kind I burned my first shade with, I’ve retired entirely. It’s fine for a no heat project, a folder cover, a gift box. It is not fine four inches from a bulb, and I don’t care what the can implies about durability, I measured the scorch line myself and it started exactly where the glue had been applied heaviest.
Fabric stiffener is the wildcard I didn’t expect to like. Used sparingly on the back of thinner paper before wrapping, it adds just enough rigidity that you’re not fighting the curve, without the tackiness issue.
[Glue and Adhesives]
Which Shade Shapes Actually Cooperate
A drum shade is the forgiving option, straight sides, no compound curve, and it’s what I’d tell anyone doing this for the first time to buy, because a cone or an empire shade asks the paper to bend in two directions at once and most wallpaper, even the flexible vinyl kind, resists that. I tried an empire shade with a scrap of striped paper and spent forty minutes coaxing bubbles out of it with a credit card edge, only for a new bubble to appear the moment I moved to the next section, like whacking a mole that keeps popping up somewhere else on the shade.
Hardback shades, the kind with a solid backing already glued to the frame, are worth the extra few dollars over a bare wire frame, because you’re papering onto something rigid rather than trying to get soft paper to hold its own shape against wire. I measured the difference in effort myself across two attempts and the hardback version took roughly half the time, no exaggeration, because I wasn’t also fighting gravity and a floppy frame at the same time.
You Might Also Like

Size matters here too, and not in the way people expect. A smaller shade, something in the 8 to 10 inch diameter range, sits closer to the bulb than a larger 14 inch one, which brings us straight back to the heat question, so the shape and size decision and the glue decision aren’t actually separate choices. They’re the same choice, made twice.
[Drum Shades]
The Bulb Is Doing More Damage Than the Glue Ever Will
Here’s the bit that gets skipped in almost every version of this project I’ve seen online, and it’s the one that actually matters most. An incandescent bulb throws off real heat, properly measurable heat, not the gentle warmth people casually mention. I put a thermometer near the inside of a shade with a 60 watt incandescent running for an hour once, out of pure stubbornness after the scorch incident, and it read warm enough that I understood immediately why my wallpaper had browned. Swap that same fixture to an LED bulb of equivalent brightness and the inside of the shade barely warms at all, because LEDs push their heat out the back through the base, not forward into the shade.
So the actual fix, the one that made every subsequent shade succeed where the first one failed, wasn’t a better glue at all. It was switching to LED. I’d been treating this as an adhesive problem for months when it was a wattage problem the entire time, which is exactly the kind of thing you feel a bit stupid about once you’ve noticed it.
If you’re using a lamp you already own with an incandescent bulb you’re attached to, at minimum keep it under 40 watts and give the shade real clearance, a proper couple of inches, not the snug fit that looks best in photos. Snug is how you get a brown ring. I promise you that from experience.
[Bulb and Heat Safety]
Finishing the Edges So It Doesn’t Look Like a School Project
The difference between a wallpaper shade that looks intentional and one that looks like a craft session that got away from someone is almost entirely in the top and bottom edges. Raw paper edges fray, peel, and catch light in a way that broadcasts exactly how it was made, and not in a charming way. Bias tape, the fabric kind sold by the yard for sewing hems, glued along the top and bottom rims with the same wallpaper paste, hides the seam completely and gives the whole thing a finished look that photographs like it came from somewhere expensive.
A friend of mine, watching me do this for the third time, asked why I didn’t just buy a new lampshade for the twelve dollars it would cost at a big box store instead of spending an entire evening on this. Fair question. I didn’t have a brilliant answer beyond the fact that the finished shade, with a scrap of wallpaper I’d never see again in that exact pattern, felt like it belonged to my actual home rather than to every other apartment on the block. A twelve dollar shade doesn’t do that.
A light coat of matte sealant over the outside, once everything’s fully cured, adds a bit of protection against dust and finger marks without changing the color underneath the way I worried it might. I tested it on a spare scrap first, obviously, because I’ve learned that lesson too.
[Trim and Finishing]
Final Thoughts
I went into this whole project assuming the hard part would be the papering, the cutting, the matching up a pattern around a curved seam without it looking like a botched wallpapering job in miniature.
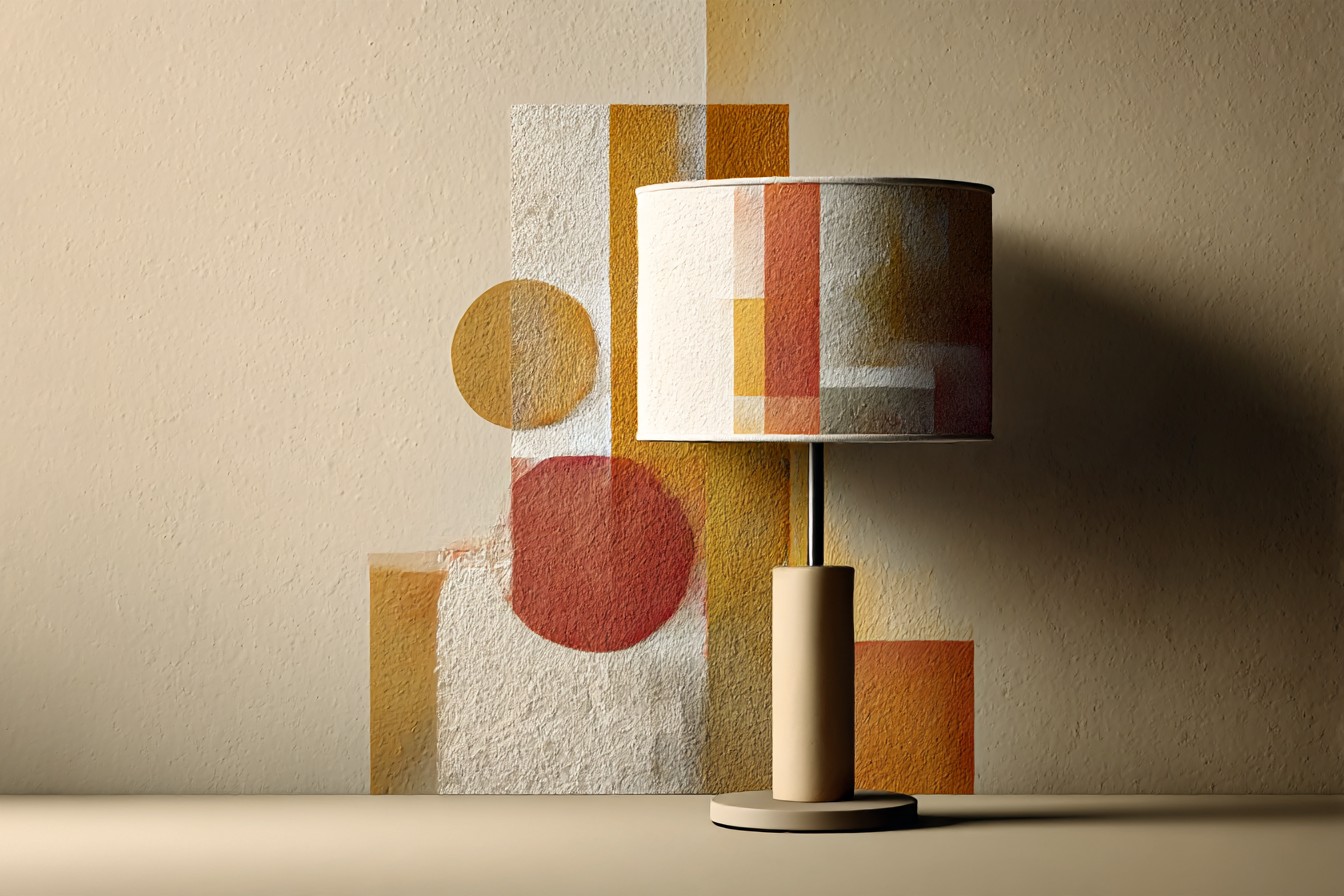
It’s not. The hard part, the part that actually determines whether the thing survives past its second week of use, is respecting how much heat sits inside a lampshade and choosing every material against that fact rather than against how it looks in daylight with the lamp off.
Use the scraps you’ve already got, genuinely, that’s the entire point of this being a leftover project rather than a shopping trip. Choose a drum shade if it’s your first attempt. Skip the spray adhesive entirely, I’ve made that mistake so you don’t have to. Switch to LED before you touch the glue at all, because it solves more of the problem than any adhesive brand ever will. And finish the edges properly, because that’s the bit that decides whether it looks like a considered little object on a side table or a project someone’s slightly embarrassed to admit they made on a Tuesday night with wine.
Mine’s still sitting on the console table by my front door, over a year old now, no scorching, no lifted seams, made from a scrap I was originally going to throw in the recycling. That’s the whole case for doing this, really. Not that it’s cheap, though it is, but that it turns something you were about to bin into the one lamp in the room people actually ask about.


[…] months after I bought a bundle, and my downstairs neighbor asked if I was doing “some kind of craft project” based on what she found in the hallway. So I switched to preserved eucalyptus branches and bunny […]