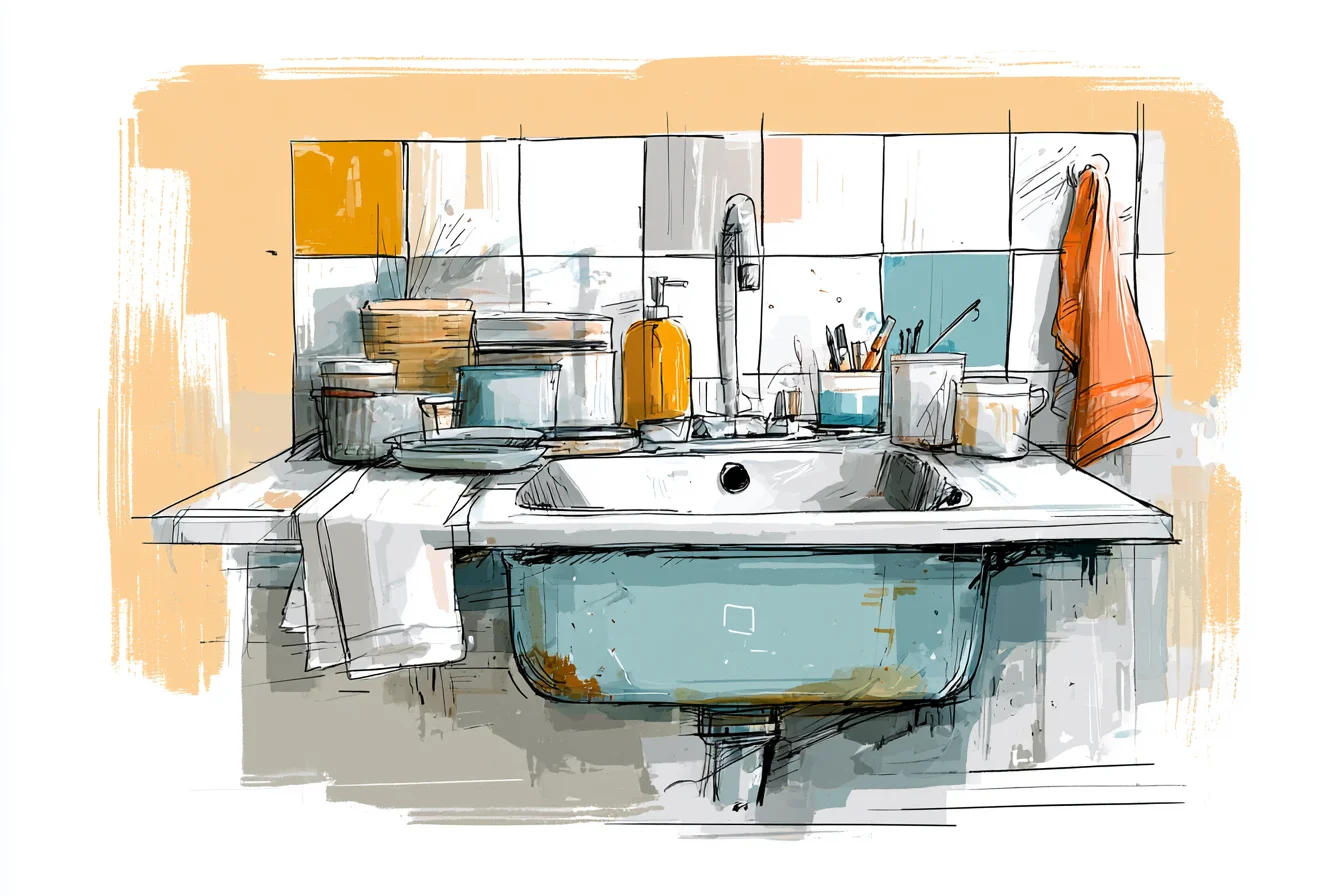
Our bathroom sink splashback was becoming increasingly water damaged over time, until eventually Phil was referring to it as “the UK.” Because yeah, if you look at it in a certain light it really does resemble Britain. I’d been ignoring it for months but when my sister came to visit and asked if we’d “considered maybe fixing that wall thing?” I knew I had to do something. Despite years of tooth-brushing next to this sad little wall, it hadn’t occurred to me until that point that bathroom sinks basically shoot water all over your walls.
I’d always thought of backsplashes as being a purely kitchen-based thing, purely because they always appeared behind the hob where all the cooking splashes would happen. Didn’t realise that wetting your teeth twice a day could do the same thing more gradually. Our bathroom came as standard when we bought the house.
Pedestal sink. B&Q mirror.
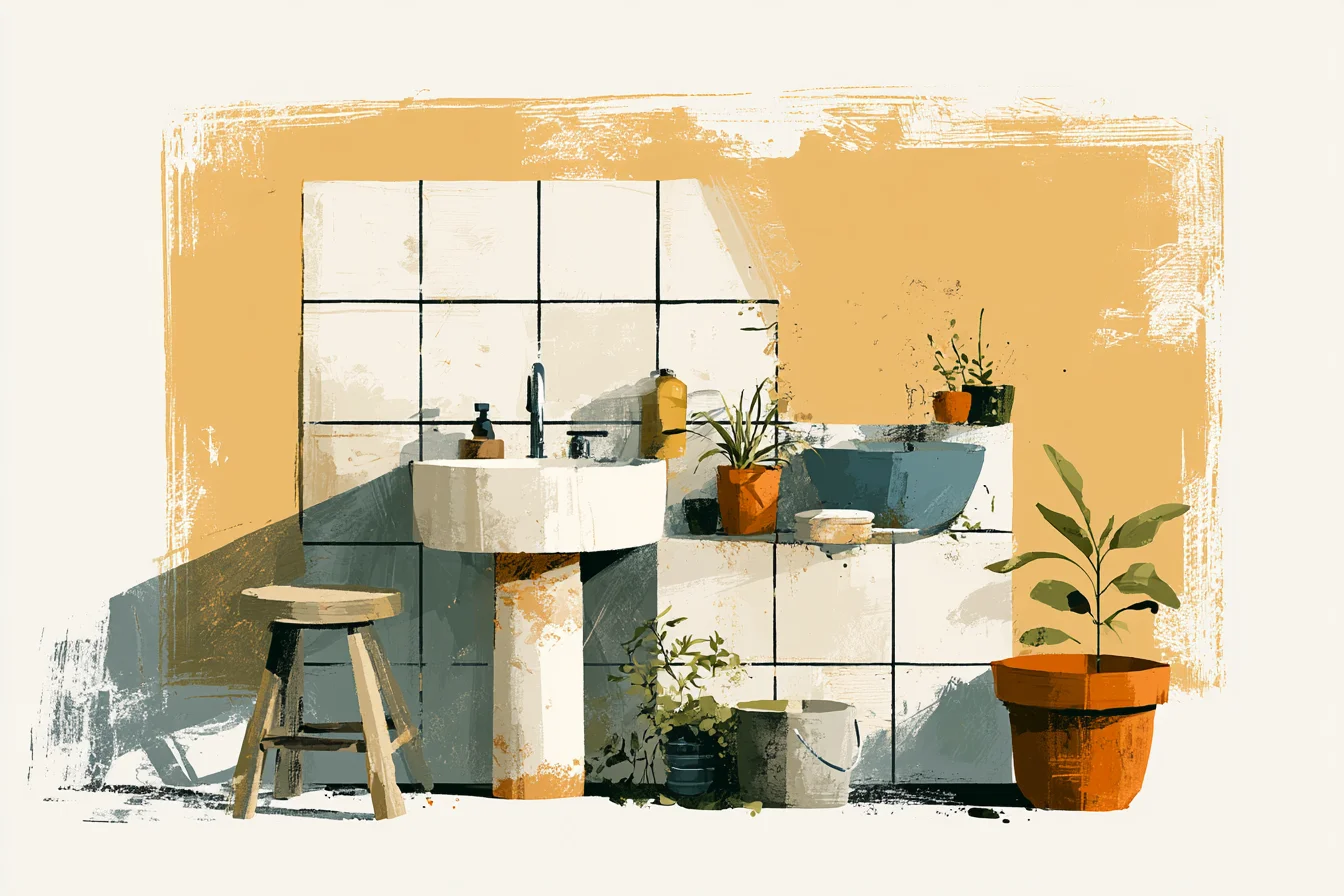
Walls covered in magnolia paint (that IS a thing apparently; landlords think it’s neutral.) Every morning when I got ready I’d wash my face and brush my teeth, sending water droplets careening across the wall next to me.
Eighteen months later the paint had bubbled and blistered, chunks of it were peeling off, and the whole wall smelled of damp. Eau de mildew is its own scent. Optimism wasn’t wasted though; it just didn’t last very long.
Pulled some stuff off Amazon and painted over the damaged area with Dulux own-brand bathroom paint. Stretched it pretty thin trying to blend the bubbles in with the new layer, but it looked fine! Fresh!
For a month. Then the bubbling started to reappear, pushing through the shiny new paint and undoing all my hard work. Paint isn’t designed to withstand being repeatedly soaked.
Mind blown. It was then that I started to look into bathroom backsplashes properly, and I was honestly surprised by how many options there are. You don’t need to remodel the entire room, or spend weeks waiting for tradespeople to come round.
Some of the coolest (and best-looking) splashbacks cost next to nothing and can be installed in an afternoon. My introduction to the world of splashbacks came in the form of peel-and-stick tiles. Picked up some white subway-style tiles from Wickes which looked just like real ceramic tiles but had adhesive on the back. £35 for two boxes, enough to cover the area above our sink and then some.
Took me around two hours from start to finish, including ten minutes sobbing over whether the lines were straight enough. (They weren’t. But who’s judging, right?) I was immediately shocked at how much better it made our whole bathroom look. Not just aesthetically – those crisp white tiles transformed what was previously a quite grim little room – but literally too.
When water hits the tiles, it beads up and rolls off. It’s no longer absorbed into the wall, leaving those dull water rings that take ages to scrub off. I can actually wipe down the wall after brushing my teeth without fearing permanent damage.
The one thing I didn’t realise when I started was how high I needed to go. My first backsplash probably covered around 16 inches up from the sink itself. Fail.
Water doesn’t just arc up and land neatly on your tiles like a superhero landing after a tall building. It bounces off the tap, ricochets off your face and hands as you clean them. Splashes reach mysterious places I don’t know water can reach.
Our replacement one goes almost three feet up the wall to account for splash zone. Don’t forget to go wide enough either. My first attempt extended as far as the edge of the sink on either side.
Then I started thinking about how water can bounce, and now I always cover at least 6 inches past on either side too. Looks nicer as well, somehow more purposeful than stopping abruptly at the edge of your sink. It’s strange how different patterns can make the exact same tiles feel like totally different products.
You Might Also Like
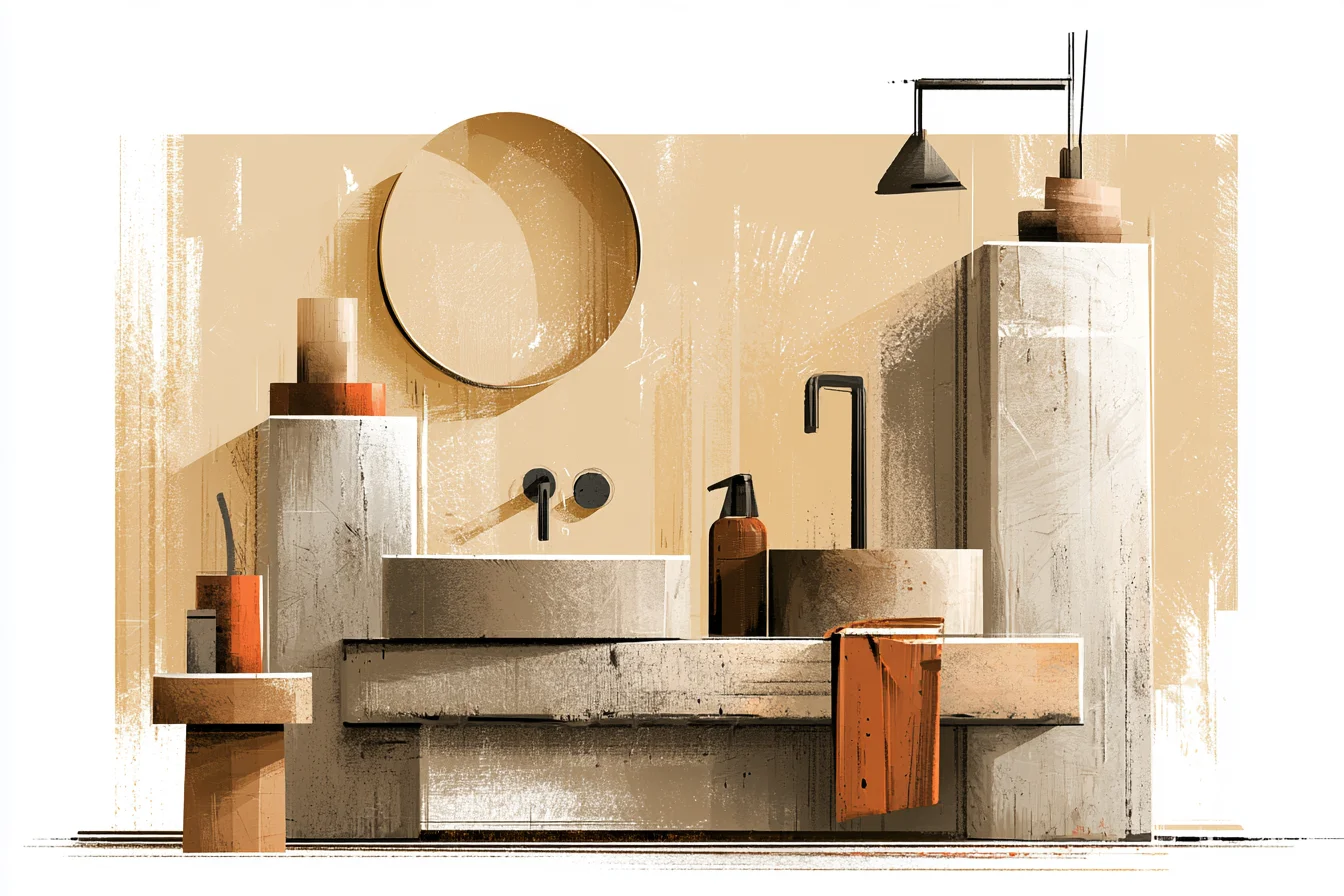
Lay subway tiles in the classic brick style and they feel traditional, safe. Kind of dull, even. Stand them on their edge and suddenly they look modern; like something you’d find in a designer hotel bathroom.
Lay them in a herringbone pattern and whaddya know, now you have an actual feature wall. That said, cutting the end tile for herringbone will make you hate humanity so bear that in mind. Tile isn’t the only option, either.
There’s this really cool textured wallpaper available now that’s designed to be used in wet rooms. Looks just like real grasscloth but is basically wipe-clean vinyl. Installed some behind my sister’s sink when I helped her reno her bathroom last year and it’s been great – still looks as good as day we installed it, even after more than a year!
Obsessed friends kept me away from natural stone for the longest time, but I finally caved and bought some for this bathroom. Thin marble sheeting that you can buy in standard widths; the flexible kind that kind of bends slightly so it’s already cut into a board shape for you. Looks absolutely STUNNING.
Kind of ups the “fauxtory luxe” vibes of the whole bathroom. Marble though, will stain if you don’t seal it. Learned that the hard way when I didn’t bother wiping down toothpaste splashes one time.
Definitely still in the wiping-clean category but be aware you’ll have to give it a regular seal to keep it that way. If you’re strapped for cash, you’d be surprised how good beadboard can look behind a sink. Good quality moisture-resistant MDF beadboard, painted with the same Dulux paint I used on our kitchen cabinets, can work wonders.
Water rolls right off of it too; won’t look as crisp as tile but definitely stands up to splashing better than regular painted walls. Gives a little more texture too, which can help break up what can often feel like flat, depressing walls in smaller bathrooms. My final revelation was that functional = boring is totally not the case when it comes to splashbacks.
The options that work best for keeping water off of your walls – ceramic, porcelain, sealed stone – are also the ones that provide you with the widest variety for style. Tiles that look like wood. Tiles that look like concrete.
Fabric. Leather. Modern manufacturing techniques have reached the point where you can basically have the look you want while still getting the water-repellent benefits of real tile.
Installing most of these is way easier than you’d think too. Peel-and-stick tiles don’t get much simpler; if I can do that in a borderline mental health crisis over getting lines to be “perfect,” YOU CAN DO IT. Real tile isn’t much harder for something this small either.
You don’t have tons of cuts to do around shower screens and funky corners the way you would further into the bathroom. Buy yourself a tile cutter from Screwfix, few spare tiles just in case you mess up, and some tile spacers & adhesive, and you’re golden.
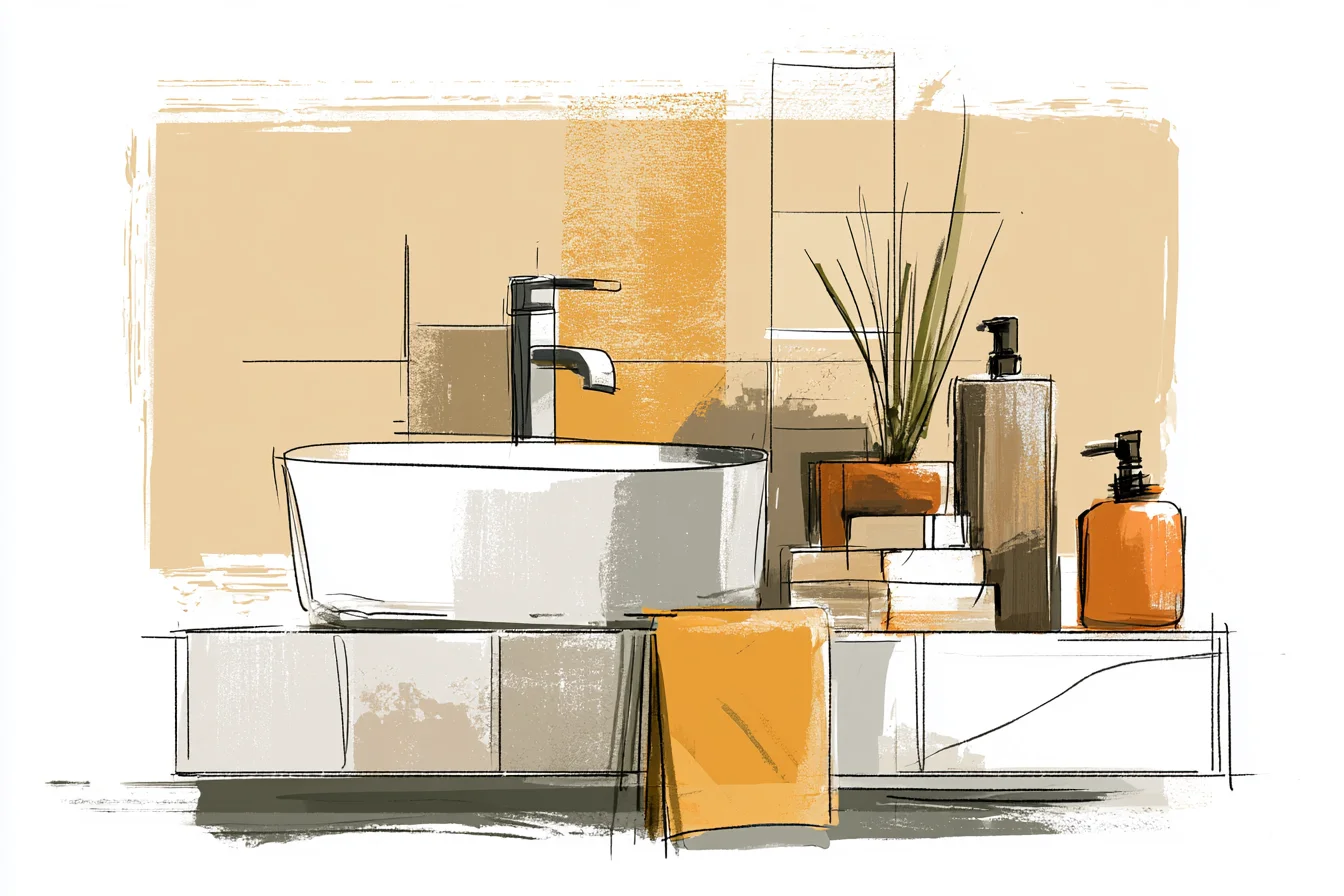
Honestly, the ROI on fixing our splashback has been astonishing.
Don’t get me wrong, it definitely helps that having a nice-looking bathroom makes your house more valuable when you sell. But I’m talking day-to-day stuff here. No more scrubbing weird stains out of the paint every weekend.
No more stressing about mildew building up when you can’t see behind the sink. No more ugly-ass walls making you feel sad every morning when you’re trying to mentally prepare to face the world. Lemon.
Juice. Rocks. It never occurred to me how such a functional upgrade would make such a difference to the feel of our bathroom.
We didn’t go crazy – it’s got the same sink, same slightly-too-small mirror – but just having something nice and sleek to look at behind the sink makes the whole room feel more cared for. Sometimes the smallest upgrades are the ones that make your house feel like home.