It happens to all of us at one time or another. You’re walking into the bathroom and it kind of looks like you hate it. It’s not dirty, it’s not broken, it’s just… boring.
Blah. Basic. Whoever designed this obviously got tired half-way through and settled.
Except it’s your bathroom and you never got that chance to finish it HOW YOU WANTED to finish it! Picture this: you hop into the bathtub for your nightly soak.
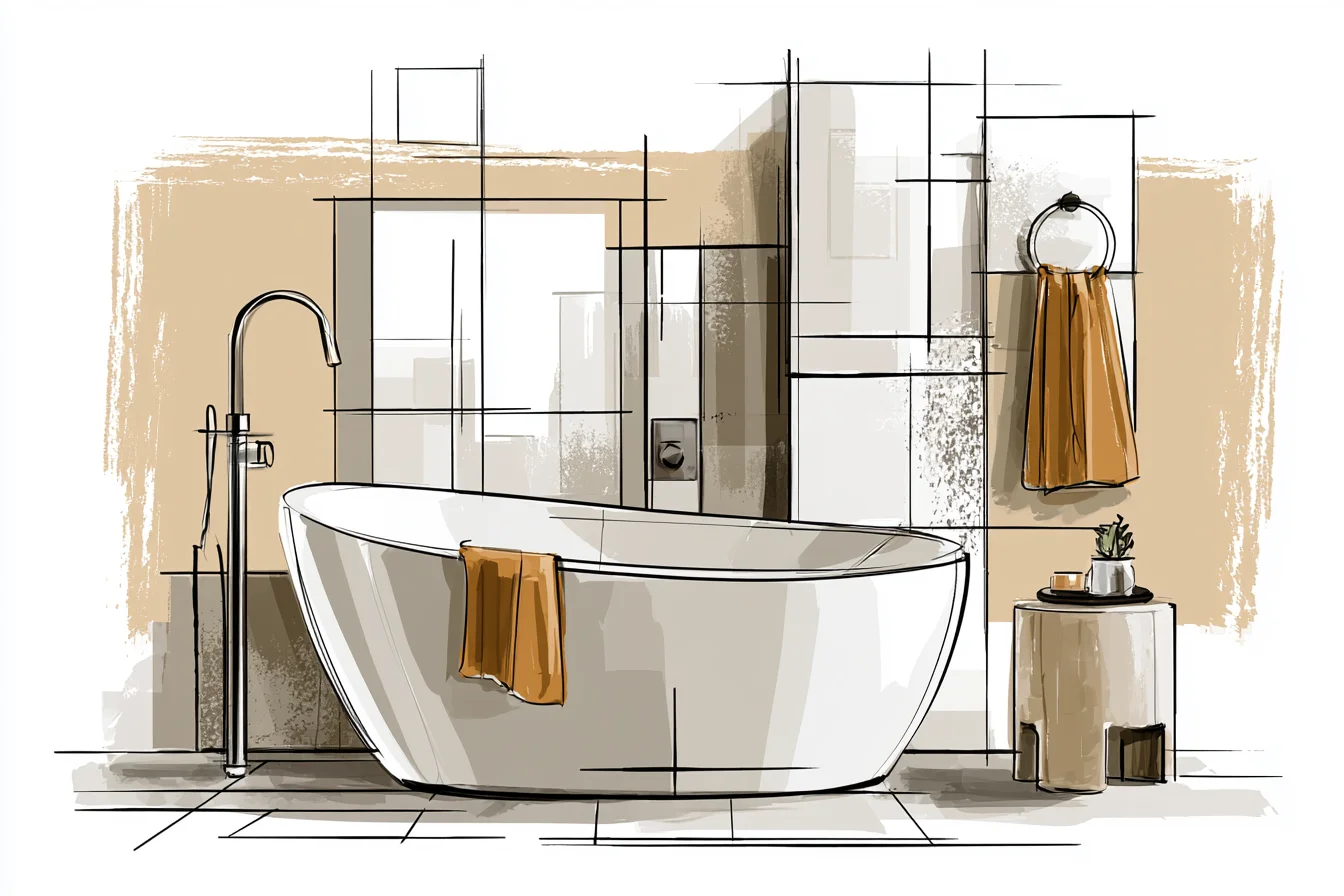
You relax into the warm water, melt your stresses away, then you look up at your bathtub walls and realize they make you sad.
Wait…what if you flipped that concept?! What if you LOVED your bathtub walls SO MUCH that your guests oohed and aaahed when they walked into your bathroom? ? Here’s the thing about small projects around your house: You get into a groove.
You start cooking meals more at home so you upgrade your kitchen. You’re spending more time in the living room, so you invest in a new sofa. But the tub…you tiled around it and called it a day.
My first bathroom tub was in my own house. It was your standard three-sided alcove tub that was installed when the house was built. Solid ceramic.
Nothing special. When I started looking into tub surround options, I got quickly overwhelmed. There are stacks of subway tile.
Then there are staggered subway tiles. Then there’s natural stone. Or mosaic subway tiles.
Paint? Tile? Colors!
Hardware! Ok…let’s get real about your bathtub usage. If you’re like me and love taking baths, you’re going to be looking at those tub walls A LOT when you take a bath.
When you soak in the tub, your head is going to be looking directly at the walls across from the faucet. That, my friends, is your spotlight. I ended up choosing a large-format 12×24 tile.
Greyish-green color, but not the trendy sage green that everyone else was using at the time. More muted. Larger tiles meant way less grout lines to scrub!
Next up? I took that tile all the way to the ceiling instead of stopping at 6 feet. Tiles on the ceiling cost about thirty percent more than stopping at standard height but WOW did it make a difference!
The bathroom felt taller. And custom! Like I spent hours and hours figuring out how to do that instead of accepting that the contractor probably said as an option when he was here delivering quotes.
Lesson learned on my first bath: I kept it too neutral. Grey-green tub walls, white grout, brushed nickel fixtures. It wasn’t bad.
But it wasn’t “wow”. My sister walked in and said “it’s nice, but it could be anyone’s bathroom.” Hahaha, she is NOT wrong. So I took that gray-green and ran with it on my next tub project.
You Might Also Like
Instead of treating all of the walls like they were part of the main focal point, I created an accent wall behind the tub using a completely different material. In this bathroom, we used natural stone in a stacked pattern behind the tub. The contrast between the sleek subway tiles on three of the walls and the textured stone finish on the fourth wall really made the space feel high-end.
Note: There is such a thing as TOO MUCH in a bathroom. When designing a bathroom (or having someone else design it for you), pick one area to wow people with and let the rest of the bathroom support that wow factor. You don’t need three different tile patterns.
You don’t need two different stone choices. Don’t pair that with accent lighting and a wallpaper feature wall. Pare down.
Choose one. Believe it or not, you can do your tub surround on a budget. Some of my favorite tub surrounds were actually budget bathroom winners.
On a rental refresh we did for a client, we used plain ol’ white subway tile around the tub. BUT we installed the tiles in a herringbone pattern instead of traditional brick style. Cost for materials didn’t increase but you may be looking at twenty percent more for labor since it takes longer to install.
Same concept goes for your flooring. If you choose gray marble subway tile for your tub surround, continue that gray marble onto your bathroom floor. If not marble, grab a coordinating color and size.
It creates this continuity throughout the space that elevates the room. Don’t forget about grout color! Sure, white grout LOOKS amazing in pictures.
But trust me. It shows every soap scum mark. Every speck of mildew.
Every colored goo drop your kid sneezes into the bath while rooting around for toys. Darken up that grout buddy! It will be easier to clean and actually looks more luxurious.
Oh, lighting. My new obsession for bath areas. In my current house, we installed some recessed lighting above the tub wall.
At night when that light hits those tiles, it is perfection. bath. I love how it makes that whole wall glow instead of flat and blah. Bonus: Think about what’s going on above your beautiful new tub wall.
Blank white paint above handmade tile doesn’t look finished to me.
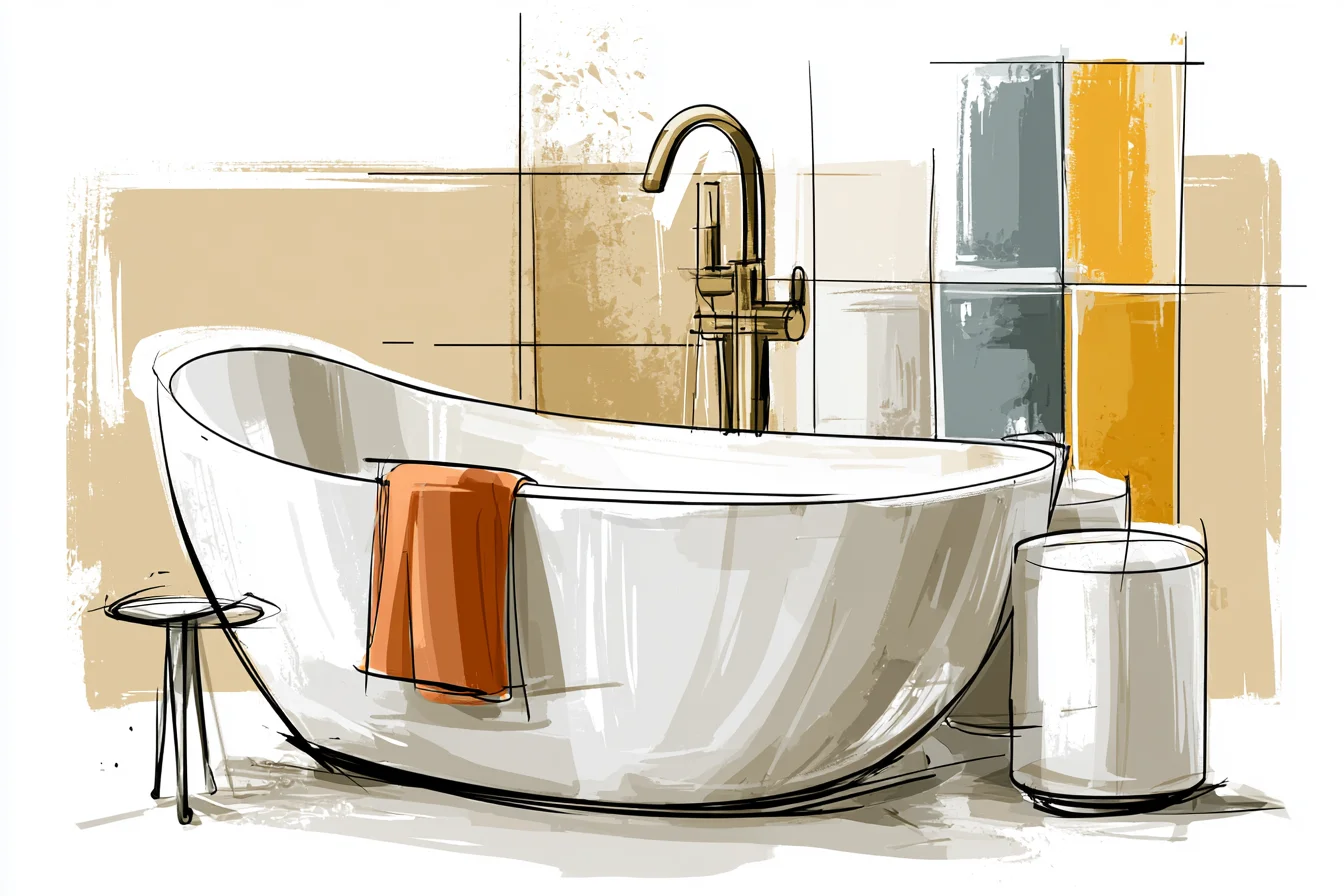
Start moving that tile up your wall halfway to three-quarters of the way up. Or paint the ceiling the same color as your grout to really make it feel wrapped up!
Remember how I said maintenance is REAL? Natural stone that needs to be resealed every year is not realistic for me. If you clean your shower walls after EVERY shower, that’s fine.
But if you’re lazy like me, stick to porcelain or ceramic tiles that can hide the dirt a little bit better. My favorite part of my current house? The tub area.
I chose the tiles because they catch the morning sun that comes in our bedroom window. When I hop in the bath at night, I feel like I’m in a luxury spa instead of trying to mentally check out before I get clean. Create the space that YOU want to live in.
Photos will help guide you, but make sure you create a home that works for you AND your family!