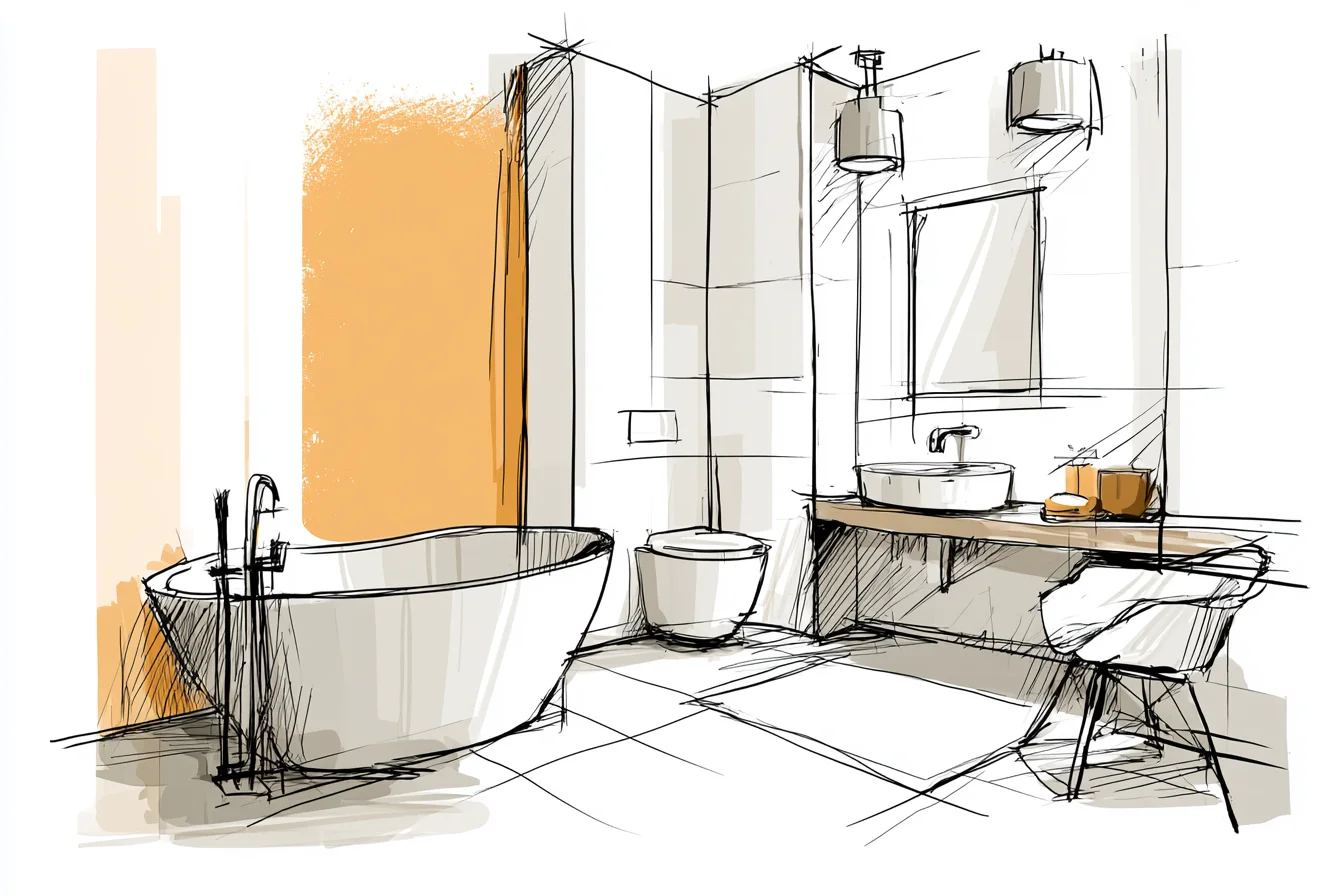
I remember laughing when I first opened the door to our RV bathroom. Not a nice laugh; more of a half hysterical giggle. Where was I going to put anything?
It is a seriously small space. Think telephone booth meets plumbing fixtures. My boyfriend thought I was nuts when I pulled out a tape measure and began meticulously measuring every inch of the space.
Then I started writing down numbers and sketching layouts. Here’s the secret to tiny spaces—when you’re confined to such a small area, every inch is valuable square footage.

There is no throwing things together and hoping for the best.
I made that mistake with our towel rack. I purchased one that was “travel size” without properly measuring first. It was massive.
The first tip I’ll share is one I got from my grandma. She grew up during the depression era and hung mesh produce bags on the backs of her doors to organize vegetables, spices, and cooking utensils. I thought it would be great to employ that idea in our bathroom too.
I found mesh bags that attached to the back of the bathroom door and hang clear, plastic organization bags on them. Bingo. Instant storage for towels, toiletries, even cleaning supplies and my hair dryer.
The mesh allows air to circulate so nothing stays wet for too long. Of course, you also need to store stuff in a space that doesn’t feel super cramped. For our bathroom, the door itself is a storage option.
I installed three hooks at different levels. One holds a towel, another a robe, and a third just for washcloths. You have to stagger them enough that the door can close, however.
The mirror was pretty useless as it came. It was a small rectangle that was positioned too low. Anyone who has lived in an RV knows that if you fill your shower before someone else, you’ll enjoy the luxury of a foggy mirror for your toilet routine.
Installing one of those corner mirrors helped immensely. They are literally triangles that fit into any corner. It reflects so much more light and makes the space feel larger.
The light fixture that came with the bathroom was atrocious. And terribly bright. Everyone knows RV lights make your skin gray and unforgiving.
I opted for stick on LED lights that clip behind the mirror and beneath the sink/vanity. Not only can you set the light temperature to warm white or bright white, it creates a glow that looks pretty luxurious. Or so I tell myself. (Luxurious is relative when you’re swimming from toilet to shower.) Like most RVs, the shower was super tiny.
And forget about those fancy shower caddies you can buy. They will never fit in an RV shower. I found suction-cupped corner shelves made for boat bathrooms.
The great thing about them is they’re built to handle moisture and constant suctioning on and off. Score! I will say this though, buy shampoo and conditioner in bar form.
No pump bottles that you will constantly knock over while driving, and you don’t have to worry about lids popping off during transit. Bars also take up less space. Tip number two: invest in a ventilation fan.
You Might Also Like

We were dead set against getting a fancy one because they’re quite loud. Plus, our original one barely suctioned to the ceiling and sounded like a Jet taking off. However, I will say this: if you travel with kids or in any kind of humidity, you will appreciate a good ventilation fan.
It prevents that gross humid feeling in the bathroom and will keep your mirrors from fogging up after a shower. Tip number three: change the flooring if you can! Ours was beige and every water spot showed.
Now it’s dark peel and stick tiles that look like stone. They’re waterproof and cut incredibly small, so you can piece them together like a jigsaw puzzle to avoid weird angles. When something happens to one, you don’t have to replace the entire floor like with vinyl.
I really wanted a small shelf that would sit over the toilet tank. There’s one perfect spot in our bathroom that it fits. It’s great for spare rolls of toilet paper, air fresheners, or anything else you can think of really.
I always recommend getting a toilet paper holder that screws into the wall. We have the spring-loaded kind (again, came with the bathroom) and they constantly fall apart. The pieces go EVERYWHERE and you end up ripping your toilet paper bar apart just to lay upside down on the floor in search of the stupid spring.
Buy the mounted kind. Tip number four: don’t clutter your space with junk. I fell into this trap at first because I thought I could fit all of my toiletries into our bathroom that I normally used at home.
No. Just…no. Be ruthless.
Edit down to only the things you will use on a daily basis. Also look for products that can be used for more than one thing. Face wash that doubles as a makeup remover?
Sign me up. Hand/body moisturizer that doubles for face? You get the idea.
OK, now the shower. Low water pressure is nothing new when you’re living in an RV. Some days it’s like a sprinkle park down there.
I found a shower head that hooks right onto the faucet with different settings. My favorite is the mist setting. It lessens water usage, but still feels like you’re getting rinsed off.
Tip number five: use neutral colors.
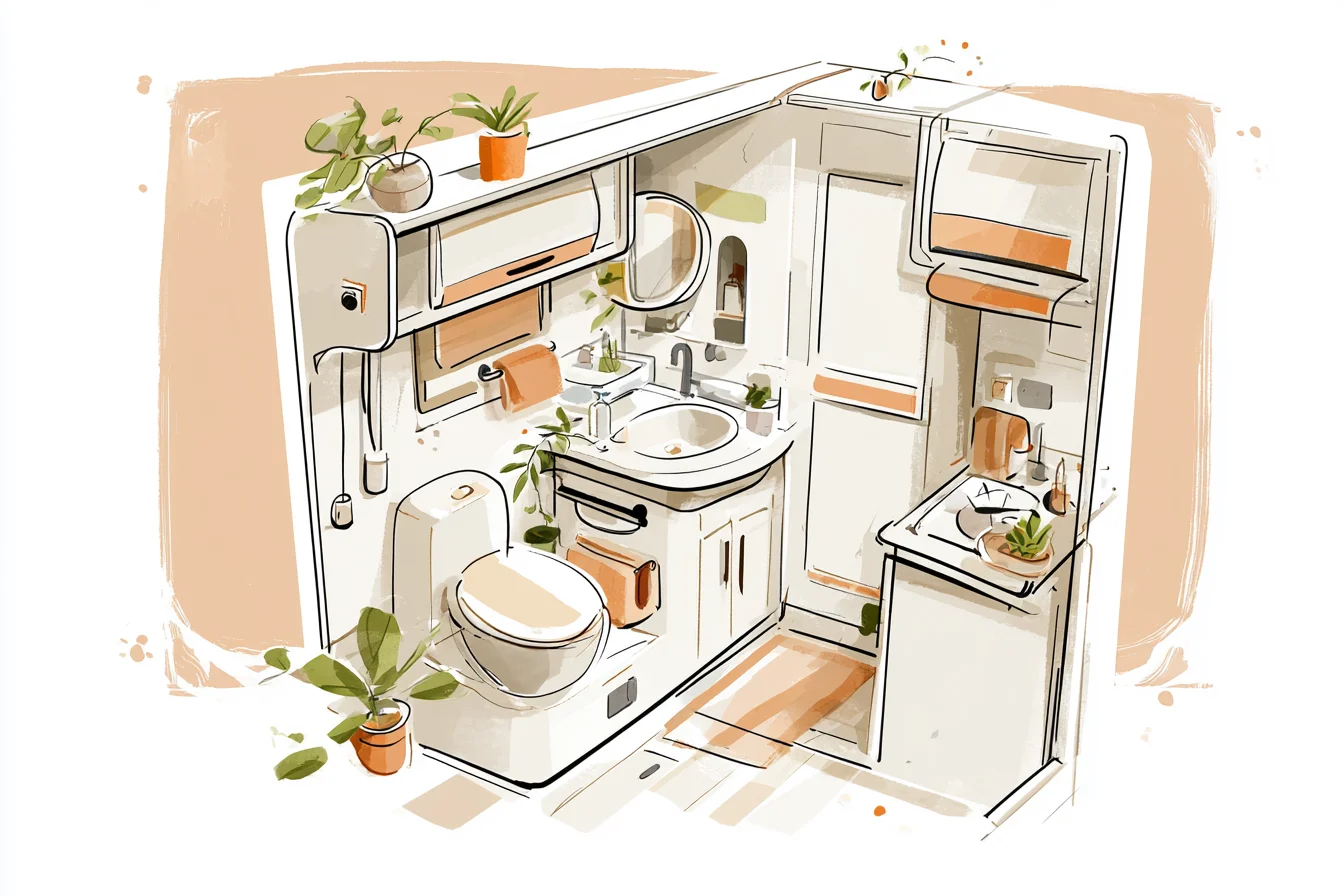
This doesn’t always work for everyone, but painting your tiny space darker colors will make it feel even smaller. We opted to keep the beige doors, wall, and ceiling, then added punches of color here and there.
A brightly colored bath mat, fancy liquid soap in a decorative dispenser, and plants that thrive on humidity. (See tip number 6). Note: finding room for plants in an RV bathroom takes skill. Wait, tip number 6?
Plants! On the bright side, they don’t take up any space since they live on your shower curtain. Don’t believe me?
Look at the photo below. These bad boys take root right in the shower water. It’s honestly the best use of space.
Hang them from a suction cup hook and you won’t believe how much green they add to your space. (Photo Credits: Misty Harmon and RV LIFE Magazine)