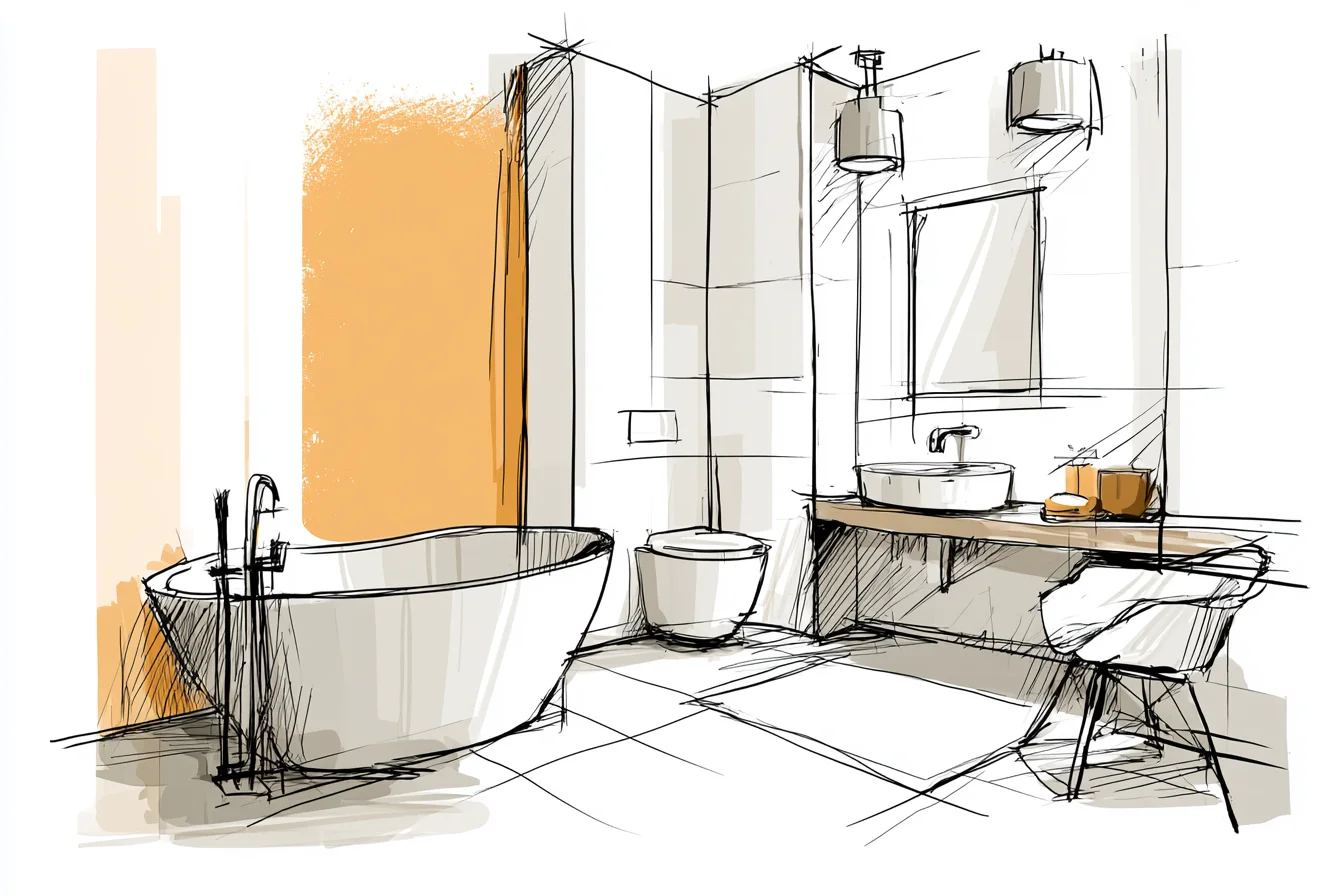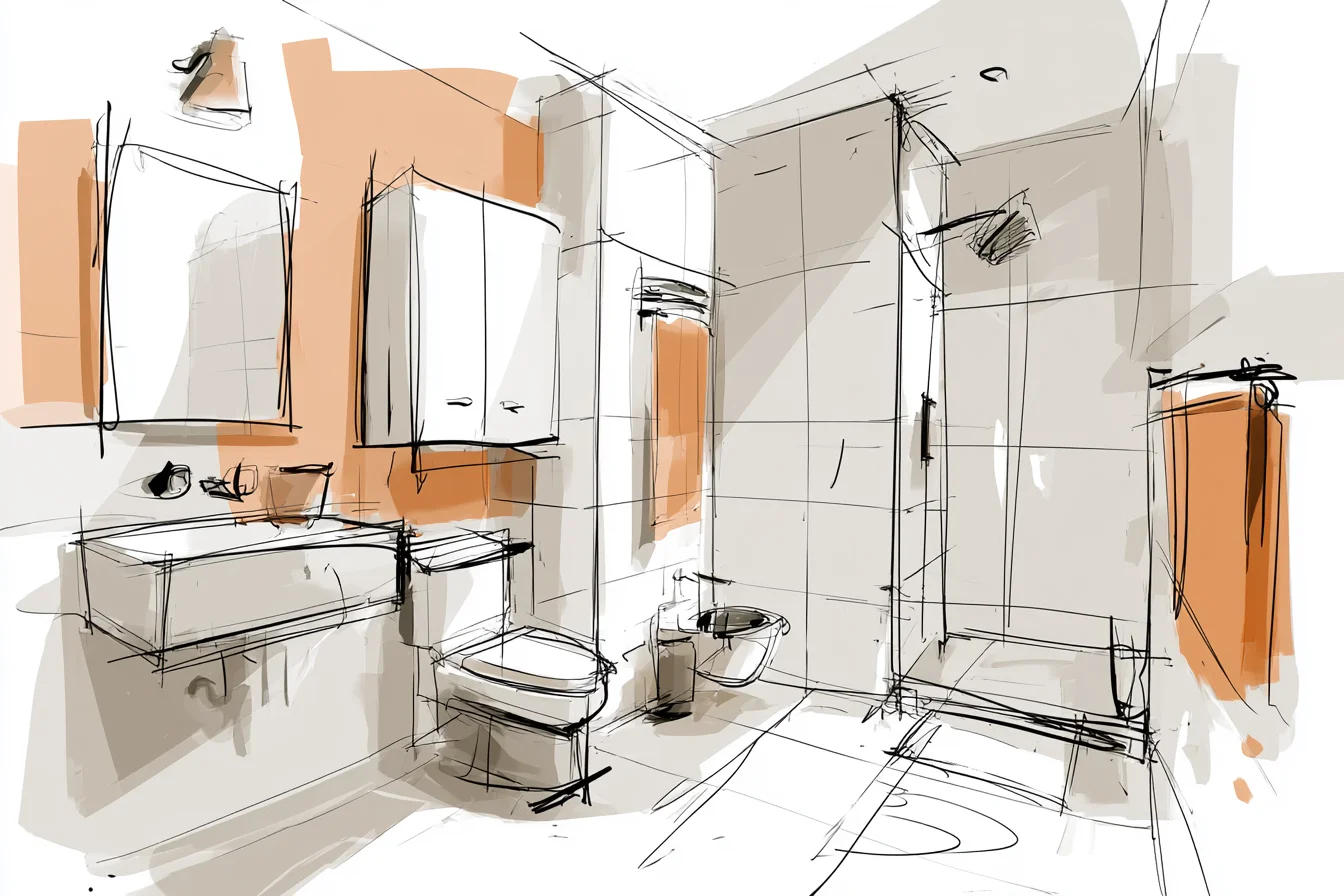
Tiles, paint pots and my attempt to design a bathroom from scratch for what feels like the umpteenth time have covered my floor this weekend. Here’s what’s involved in turning your cramped downstairs toilet into somewhere you actually want to spend time in… If I’m honest with myself, my downstairs toilet – or lavvy if you must – has been annoying me since we moved in several months ago. I shouldn’t complain – it is literally a toilet and basin shoved under the stairs – but despite its diminutive size, there was plenty wrong with it.
Small bathrooms are like that though aren’t they? You can’t afford to get any design decisions wrong – because you’ll notice every single day until you fix it. Crooked tiles are glaringly obvious when you’re washing your hands three times a day.
That funky shelf unit you bought online that doesn’t quite work? You’ll bang your knee on it every time you enter the room until you sort it out.
Design mishaps like this have taught me one thing – patience.
I refuse to rush this bathroom and make any more mistakes, much to husband’s frustration when he wants to know when we can actually use the bathroom again. First up was re-planning the space. Draw boring…I mean planning a bathroom is hard.
I’m fairly sure I went through eighteen different layouts before deciding on the final floor plan. Moving the basin from directly opposite the door to an angled position on the left hand wall took ages to plan – and then I had to replumb the entire room. Let’s just say I now have a good idea of what’s inside my walls – it’s not pretty.
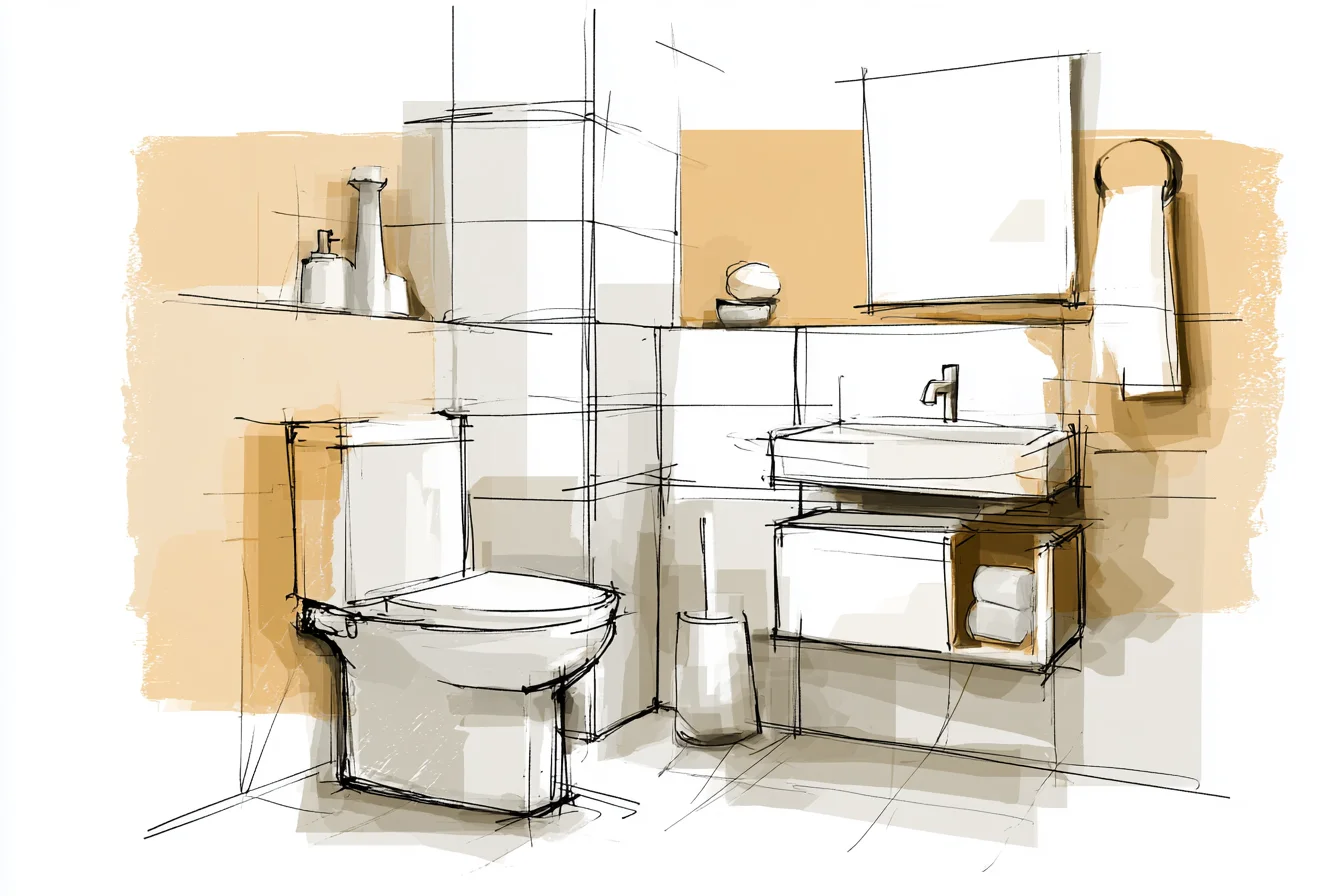
It was far too much faff to move the toilet, but replacing the old standard WC for a wall hung version makes all the difference. You can see ‘underneath’ it which makes the room feel bigger. It’s also far easier to clean around!
As for the basin – I obsessed over that for weeks. Standard width sinks looked enormous in the space and fitted oddly on the angled cabinet. Eventually I found this beautiful oval ceramic basin online.
It’s only 35cm wide (so sinks aren’t always white!) but goes decently deep. It did push my budget – I wanted a cheap basin for around £80 but settled for this beautiful thing which cost £180. Buyer’s remorse?
Don’t mind if I do. Speaking of pricey purchases…my choice of taps almost ended in disaster. Online I’d spotted these beautiful tall mixer taps and fell in love.
Well when it arrived I assumed Mr Fuller would hand them to me, but you can’t do that with taps! It transpired the nozzle wouldn’t reach the edge of the sink without spraying water everywhere. The new basin was far too shallow to work with my dream tap.
Gutted. Back to the drawing board. Turns out shorter taps with a swivel spout are vastly superior anyway.
Storage-wise I knew I couldn’t fit a vanity unit. Floor to ceiling cabinets would have looked ridiculous. Instead I opted for a slim floating shelf above the toilet – it stretches up to the ceiling and creates the illusion of height rather than crowding the room.
Beneath the sink is a floating shelf that’s only 12cm deep, but provides space for toiletries, cleaning products and even extra loo roll. My mum hated the idea of the tall cabinet above the toilet, worried it would make the room feel smaller. But it doesn’t.
You Might Also Like
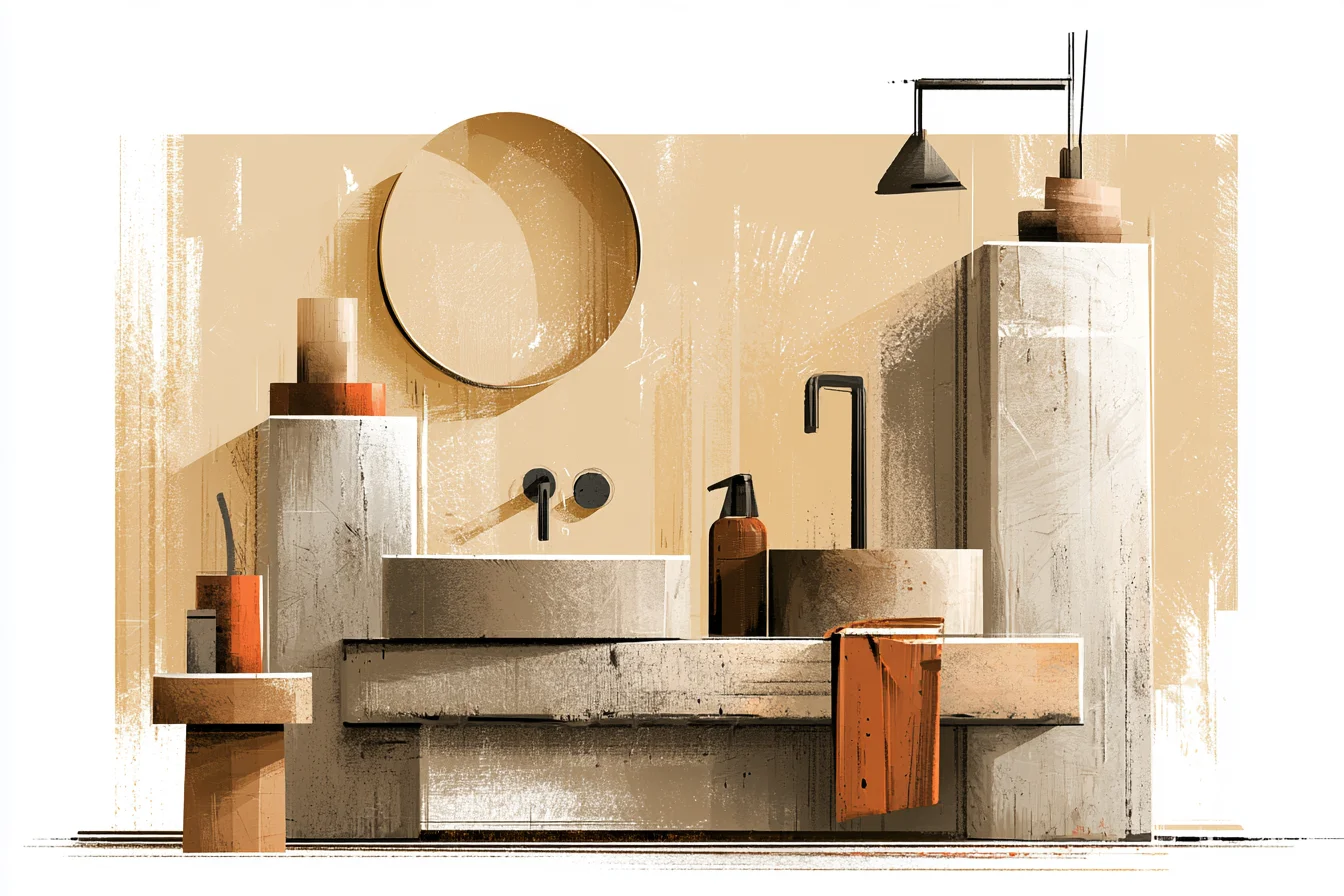
What it does mean is there’s nowhere to plonk a standard sized cabinet! Having discovered when I removed the old sink it was mounted on a stud wall rather than a solid brick one, I knocked out a recess about 30cm wide and 20cm deep. It’s perfect for housing some soap and a plant and has become my favourite bit of the room.
Decor wise, everyone bangs on about painting small bathrooms white to make them look bigger. Problem is, they then end up looking clinical and uninviting. My solution?
Paint them green. OK so not chartreuse green or forest green, but sage green. Yep the same shade as my first little flat bathroom actually – but a lighter shade.
It instantly makes the room feel airy and fresh without being too dark. Paired with white fittings it works perfectly. And yes I painted the ceiling too – hear me out.
It creates this cocoon effect around the room that makes it feel snug rather than boxy. Everyone says never to use large format tiles in a small bathroom – guess what? They were totally right.
You can see each grout line more easily which makes the floor look smaller. These tiles are a massive 60cm squared and are a lovely shade of grey – not too dark and not too light. They hide the dirt too.
They were utter agony to lay – getting them to sit snuggly against the wall with no gaps when the room isn’t a perfect square took many wasted weekend hours (not to mention spare tiles). But they make the floor look bigger so it was worth it. The lighting wasn’t terrible but the original bulb hung on the end of a cord and took any flattering light with it.
Three individual spotlights are much better – and coupled with a motion sensor switch it means the lights automatically come on when you enter the room. Admittedly, this is super handy at 3am when you’ve just popped downstairs and aren’t fully awake yet. Mirrors are also key when trying to make a small bathroom look bigger.
The issue is, my bathroom is so tiny a big mirror looked silly. After much deliberating, this cute little round number caught my eye. It’s only about 50cm in diameter and looks fabulous opposite the sink.
The thin brass frame picks up the brass in the taps perfectly. If I were to do anything differently?
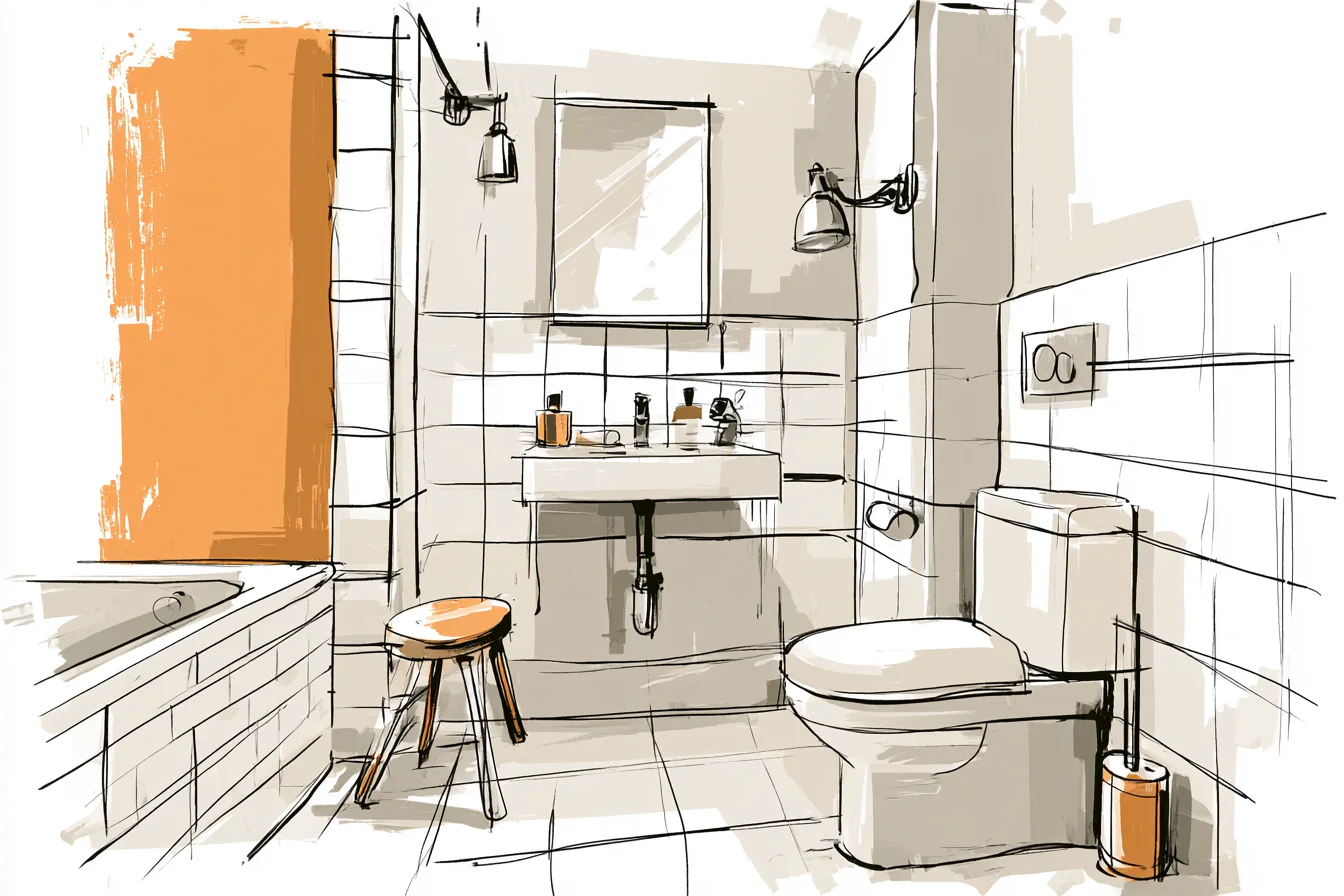
I wish I’d lined the walls before replumbing.
Tiled bathrooms are always freezing but opening the wall to do the pipework hasn’t left room for insulation. It’s a whole job I’d need to redo to sort it so will have to live with it! Hubs also bought me the most gorgeous towel rail and…hang on to your hats, I mounted it too close to the sink!
Every time you put your hands down after drying them your elbow hits the wall. How annoying is that? Know that feeling when something is literally only centimetres off being right, but you know it every single day?
Welcome to my life…. All in all it took me about six weeks to complete and set me back about £2,200 all in. Totally worth it though.
Instead of hiding in what felt like a broom cupboard under the stairs, we’ve created a tranquil little oasis to relax in. Turns out it’s not about having a huge bathroom with lots of space, it’s about getting all these tiny details right.