Picture this: you’re brushing your teeth one morning when you notice water spots creeping up the wall behind your sink. You grab your toothbrush mid-brush and investigate: little dark rings covering the pristine white paint. That was me a few weeks ago.
Turns out my landlord painted that wall six months ago…and now it looks like a rainbow. The moral of the story? Bathrooms destroy walls.
Every time you rinse off your hands, splash some water on your face, or let the faucet run while you’re digging around for your contact lens solution, water droplets are hitting the walls around you. Unlike kitchens (where backsplashes are expected), bathrooms are surprisinglySplashback optional.
Well, not really.
I’ve installed four bathroom backsplashes over the years and learned a thing or two along the way. Here’s what I’ve discovered: My very first DIY backsplash was in the rental apartment with the water stains featured at the beginning of this story. Because I was broke AND terrified of losing my security deposit, I went with peel-and-stick subway tiles.
They served me well for two years. They’re easy to clean, fully protected my wall, and peeled off perfectly (without damaging the paint) when I moved out. Skip ahead three apartments.
I now know that most people mount their backsplashes too low. YOOU WANT IT HIGHER. Water sputters; it doesn’t always drip straight down.
Showers splatter outward when the pressure is strong enough. Hands slap water everywhere when you’re frantically washing your face. Trust me and go higher than you think you need to.
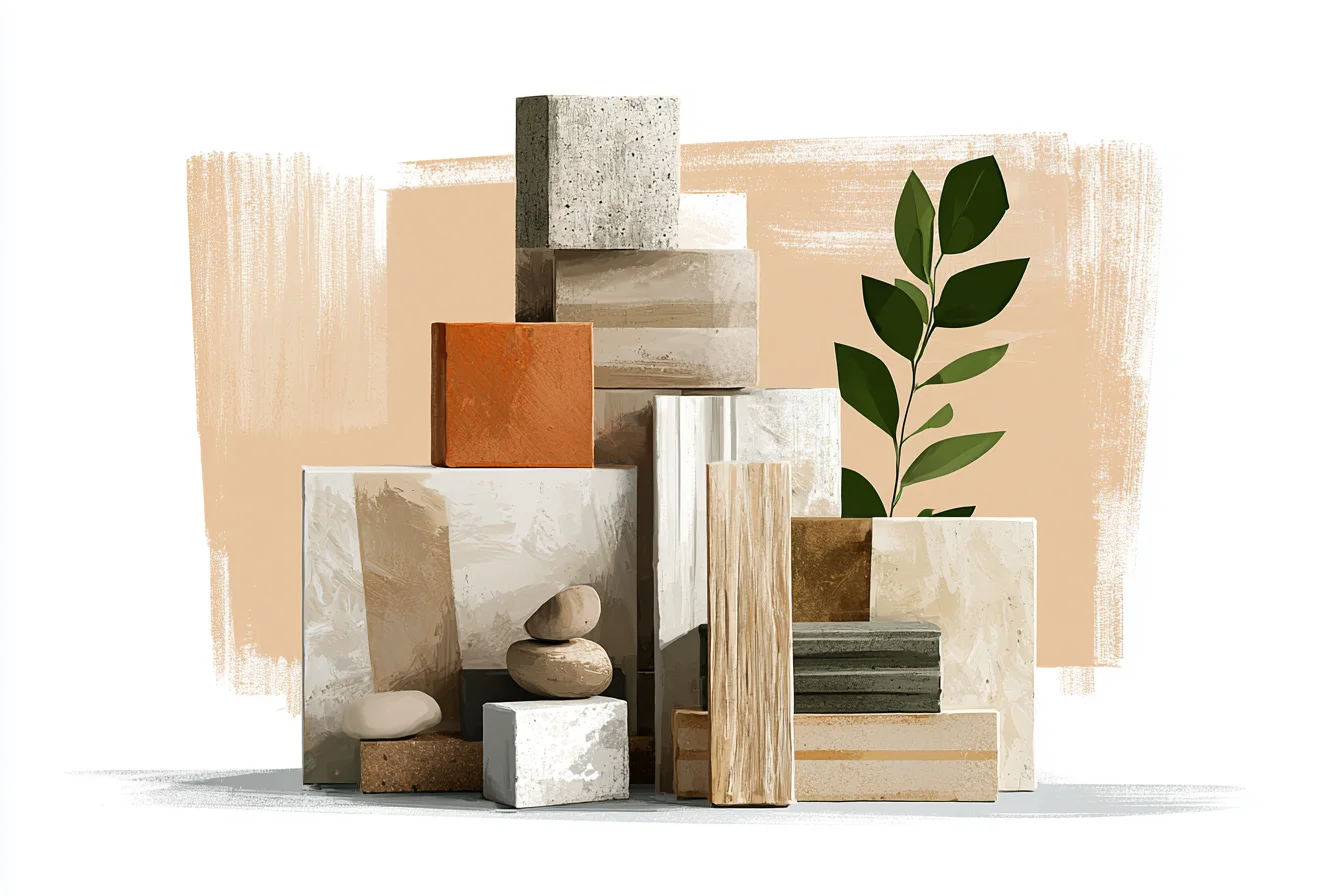
I usually recommend installing a backsplash anywhere from 6-8 inches higher than the manufacturer suggests, depending on the depth of your sink. I love natural stone look, but marble and travertine are porous materials that require annual sealing if they’re installed without proper sealing they will stain. Done correctly, natural stone can look beautiful for years to come, but “correctly” means year-after-year maintenance you’ll likely find excuses to skip.
I made the mistake of using unsealed Carrara marble tiles for a friend’s guest bathroom backsplash and it was gorgeous for three months. After that, the tiniest water spot would become a permanent mark. I still recommend ceramic or porcelain tiles because they’re made in endless styles and colors, but stay away from basic subway tiles.
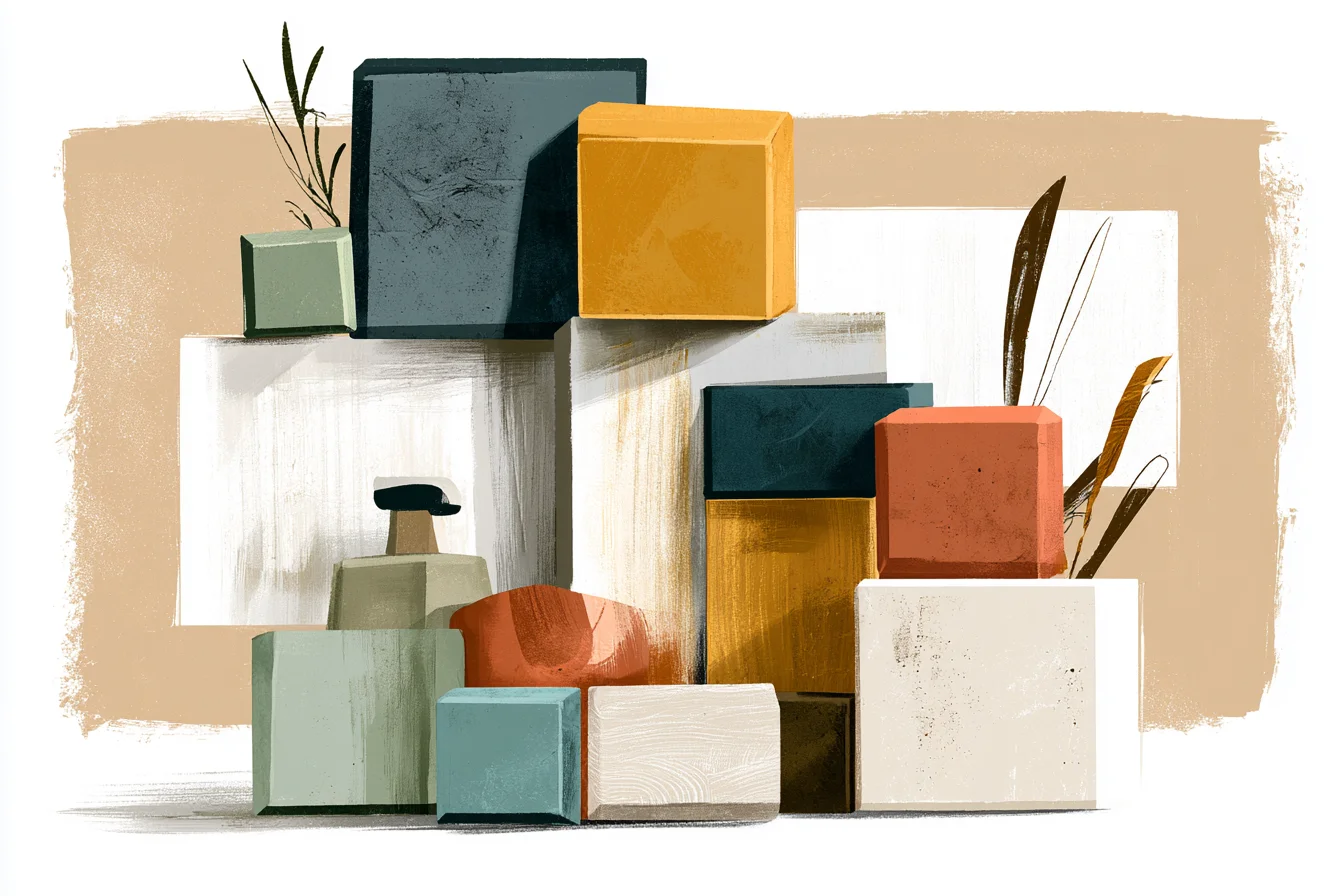
I’m obsessed with these textured ceramic tiles I found at my local tile outlet. They look like linen but are dishwasher safe (you only need to wipe them down with water). The texture hides water spots between cleanings and if you can live with that, to me they’re much more beautiful than having a perfect reflection in every tile.
Glass tile is beautiful, but everything shows on glass tiles until you wipe them down. Water droplets, fingerprints…you name it. I installed a glass mosaic tile as a backsplash in one of our powder rooms (thinking we wouldn’t use it enough to warrant high maintenance) and found myself wiping down the backsplash more than anything else in the room.
Installation tip: most people make the mistake of just putting their backsplash over painted drywall. No bueno. The walls need to be primed with the correct primer for your area of the home.
You Might Also Like
Bathrooms need a moisture-resistant primer. I bought a bonding primer at Home Depot designed for bathrooms and kitchens and let it cure for 48 hours before installing my newest backsplash. The adhesive you use depends on your walls and the weight of your tiles.
Heavy tiles like natural stone require actual tile adhesive instead of an all-in-one adhesive/filler. Lighter-weight ceramic tiles and those big-rivaled vinyl tiles that mimic natural stone can get away with using the peel-and-stick options that have recently become available. I used StickTILE materials in our basement bathroom and they’re holding up just as well three years later.
Check your local tile store for remnants. Tile remnants are leftover tiles from previous jobs that get sold at major discounts. I scored enough handmade ceramic tiles to cover a 8-foot backsplash for £40.
Those exact tiles sell for around £8/sq foot at my local tile store. The only downside? You probably won’t have enough to make mistakes, so buy 10% extra if you can.
For small projects like bathroom backsplashes, you don’t need to invest in anything too expensive. A $25 tile cutter from Home Depot will cut any ceramic tile under 12” x 12”. Mosaic tiles, large format tiles, and natural stone all require a wet saw, but you can rent those for a weekend project.
Spacers are the one area where I’d recommend spending a little more. Avoid the plastic spacers that inevitably crack and leave pieces of themselves behind in your grout lines. Grout color matters.
Dark grout blends small stains in and makes small spaces feel smaller. Light grout brightens up the space, but shows every bit of soap scum buildup. I’ve been enjoying using a medium gray that seems to balance the two out.
BONUS TIP: Your backsplash tiles don’t have to match your floor tiles. In fact, I love using two contrasting styles/patterns in the same bathroom. My current bathroom is half-covered in white subway tiles, but I used charcoal hexagon tiles on the floor.
The contrast actually makes both design choices feel more intentional. One last tip: just because your walls are protected with a backsplash doesn’t mean they’ll be stain-free forever.
Avoid stylish handmade tiles with grout lines and tons of surface texture if you hate cleaning.
Those weird grooves and ridges are a pain to clean, and will collect soap scum like nobody’s business. Smooth, glazed ceramic tiles can be wiped down in seconds. Right now, I’m demo-ing our guest bathroom and planning to install something a little different for the new backsplash: large format porcelain slabs.
Large format porcelain comes in sizes up to 48” and is engineered to mimic natural stone. The benefit? Far fewer grout lines to clean and easy pattern matching.
The downside? Installation is much more difficult, so you’ll want to find a pro to install it for you (unless you’re ambitious). For whatever reason, bathroom walls get skipped when it comes to DIY backsplashes.
Don’t make that mistake. Get creative, have fun, and just cover your walls with something before they look like mine did that fateful morning.