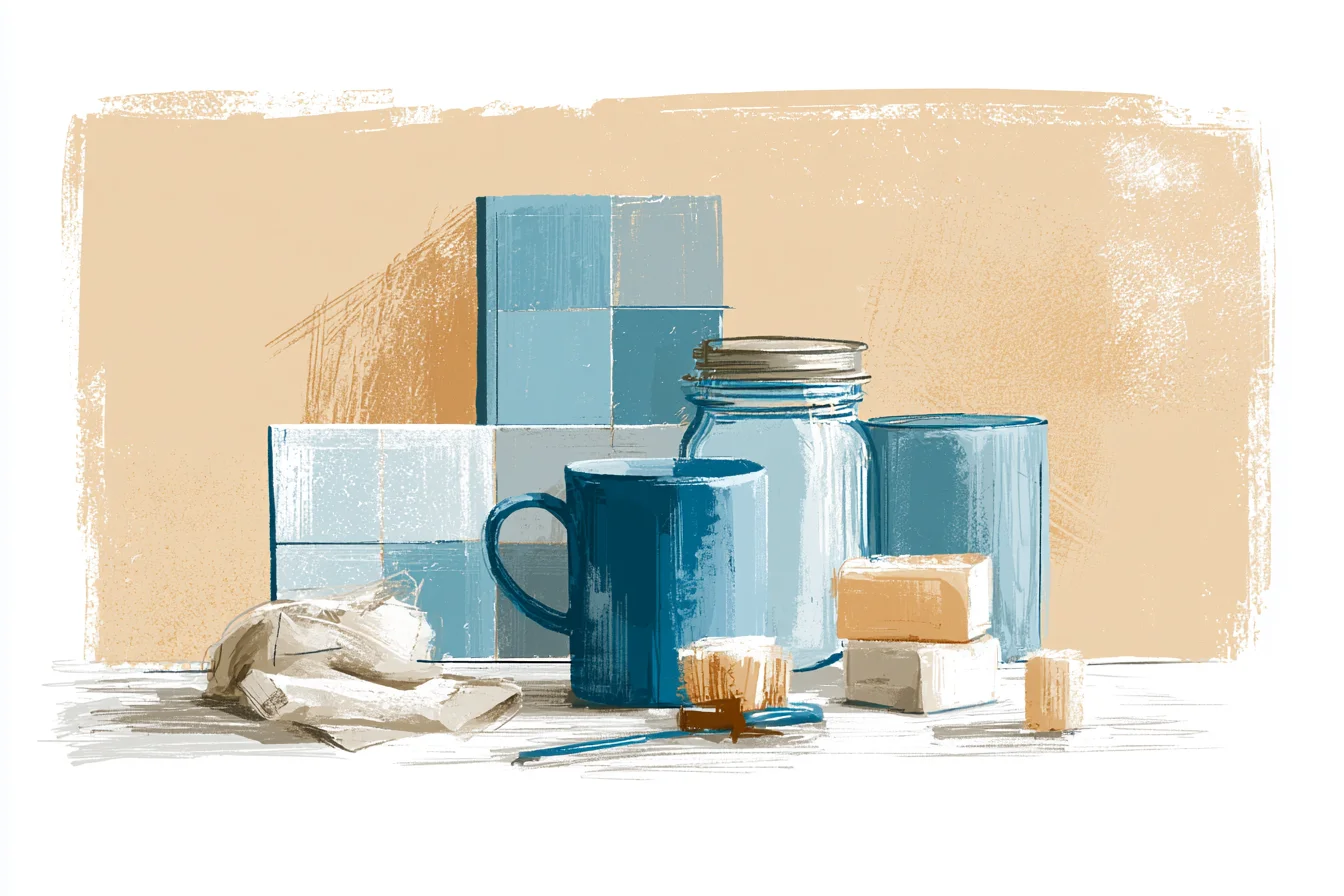
I spotted the tiles on the other side of the DIY showroom. Rich, saturated color with wispy veins that reminded me of watercolors puddling on their paper. Oddly enough, I hadn’t gone to the store looking for tiles that day.
I had gone in to pick up some cabinet pulls and next thing I knew I found myself kneeling on the floor examining these tiles and thinking “wow this could be a game changer.” Instantly I fell in love. It wasn’t subway (boo!) and it wasn’t boring white (blah!). It was statement-making cerulean tile.
Like the color of the ocean or your really fancy ink pen. I purchased one sample tile for $3.50, took it home and couldn’t stop analyzing that little tile all week.

Every time I went to a different room in my apartment I found myself whipping that tile out of my pocket and testing it against walls.
The bathroom window became prime real estate for tile showcasing — letting me view the tile in all the sick morning light that floods into my humble abode. My roommate thought I was crazy. They say you should always pick your colors before you go tile shopping.
Those little 4×4 samples can trick you into making big design decisions. But I didn’t want to pick any colors before I found the PERFECT tile. So that amazing blue tile I picked set the tone for my ENTIRE bathroom renovation.
The bathroom didn’t inspire my color choices — my tile choice did. The tile wasn’t navy blue. It wasn’t royal blue.
It was this perfect blue with gray undertones that turned a shade cooler or warmer based on the lighting. In natural daylight it border-lined on turquoise. At night when the warm light hit it, it became darker and more mysterious.
I knew I wanted to use more than just an accent square of this beauty. I decided I wanted to tile my entire shower wall in it. Yes.
ALL OF IT. Splurge? Maybe.
But if you’re going to splurge, might as well splurge. Each tile was about $45/square meter. Which is definitely not cheap, but hey.
When you’re DIYing everything else you can splurge on the materials. Also I rationalized that if I hated it…at least I only had one feature wall to feel bad about. Since my shower was already gray and white marble I picked a warm gray stone-look porcelain tile for the shower floor.
Gray to match the gray undertones in the shower tiles and brown to match the wood in my apartment. They didn’t match too closely — I wanted it to feel intentional but not like I went to Home Depot and purchased an entire “consultation palette.” This gray was also a much more sensible color than white (shows EVERY speck of dust) and was about half the cost of the blue tiles. Paint was tricky.
Blue is a hard color to match with. Lean too modern and you’ve created a Silicon Valley billionaire’s massage room. Too casual and your toilet starts to feel like a sea captain’s quarters.
I ended up flipping through about fifteen paint swatches before I found “the one.” Tossed them all up on my wall next to my favorite tile. Bright white was too…white. Cream was too…muddy?
Then I found it. The perfect warm, white with the absolute tiniest hint of gray. Sort of like that uber fancy vanilla ice cream.
Swirled that paint onto my wall and VOILA. The vanity was another one of those pieces that I almost played it safe with and got white. BUT THEN I found this beauty at my local Reclamation Yard.
You Might Also Like
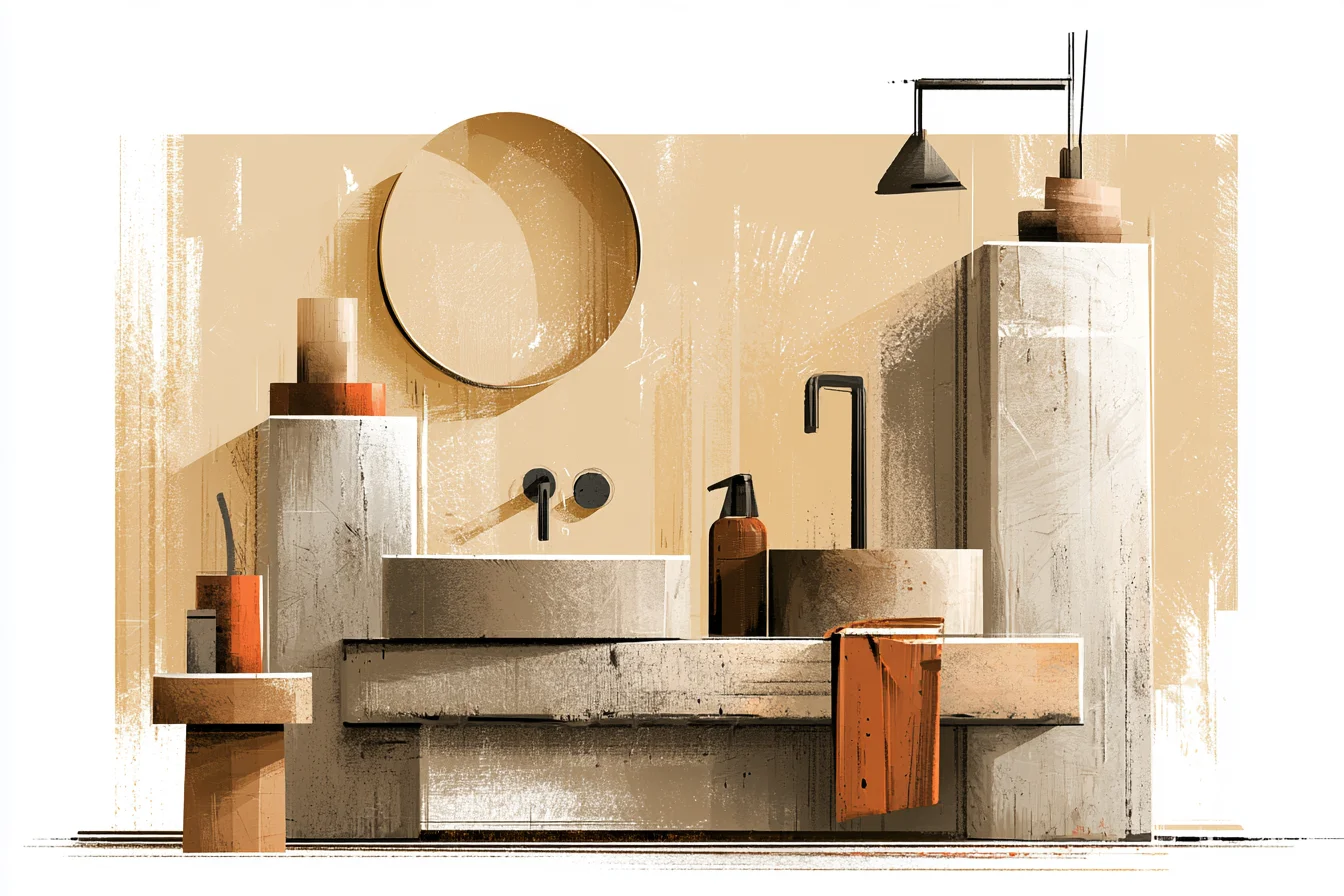
Dark charcoal colored wood with old brass hardware that had tarnished to THE PERFECT shade of green-grey. It was expensive to buy a vanity at full price so I loved stumbling across this. Would dark wood + dark blue make my bathroom feel too heavy?
Sure. But once I could picture it all together I KNEW. Dark vanity juxtaposed with bright walls was going to be incredible.
As for the mirror…story of a life. I had been looking online for mirror with a brass frame to match my vanity hardware but wasn’t loving anything I saw. Either it was too contemporary or too “frilly.” Then I found this gorgeous round mirror at my local antique shop.
First things first: it was the perfect size. Rather than get an ultra large mirror to cover up all my ugly bathroom walls, I love having multiple mirror surfaces to decorate around. Second: the frame was the PERFECT color brass.
Not too yellow. Not too brown. Sort of a happy medium that would complement my dark vanity without competing with it.
It also had the WORST GREATER patina going on which luckily matched my vanity hardware. Bonus. The seller wanted $80 for this thing so it was a major splurge.
BUT it was also the perfect finishing piece. Next came lighting. Bathroom lighting is KEY.
Blue can appear colder than it is if you have the wrong bulbs so I opted for some nice warm LED spots that I could change the temperature of. They sit on either side of my mirror (always side lighting, guys. I made the mistake of having overhead lighting in my last apartment and couldn’t take shower without blocking light with my head) and add so much warmth to an otherwise bluish bathroom.
For accessories I tried to keep things pretty sparse. A couple copper/hershey brown containers for shampoo/conditioner. Some big beautiful green plants that enjoy moist environments.
And super soft white towels. Plants are NOT optional when it comes to bathrooms. That touch of green among all the blue and gray really brings the room together.
And plants soften all the hard surfaces in a bathroom. As for the shower curtain…MONEY I spent WEEKS deciding on a shower curtain. Pink lined laughed at me when I said white towels might be too boring.
But patterns competed with my beautiful tiles. I ended up finding a gorgeous, thick, buttery linen curtain in….you guessed it… the exact same off white hue as my walls! PRO-TIP: Don’t buy waterproof shower curtains.
Toss a waterproof liner behind it and you get ALL the cute textures and fabrics without worrying about mildew.
All in all my bathroom remodel cost me around £1200. I suppose that’s not too shabby for an entire room makeover.
The most I spent was on the tiles which ended up costing me around £400. I saved a lot by painting the room myself and I FOUND all my vanity/mirror secondhand so those were also inexpensive upgrades. Bathroom lighting is another place you DON’T want to skimp.
Mine ended up costing me around £200 but you can see it ALL day long. Four years later and I STILL love walking into that bathroom. I get compliments on it ALL THE TIME.
Not just “oh those are pretty tiles” compliments. “Holy crap, WTH did you do to your bathroom? !” compliments. Thank you, favorite tile in the entire world. You’ll forever be my favorite part of my daily routine.