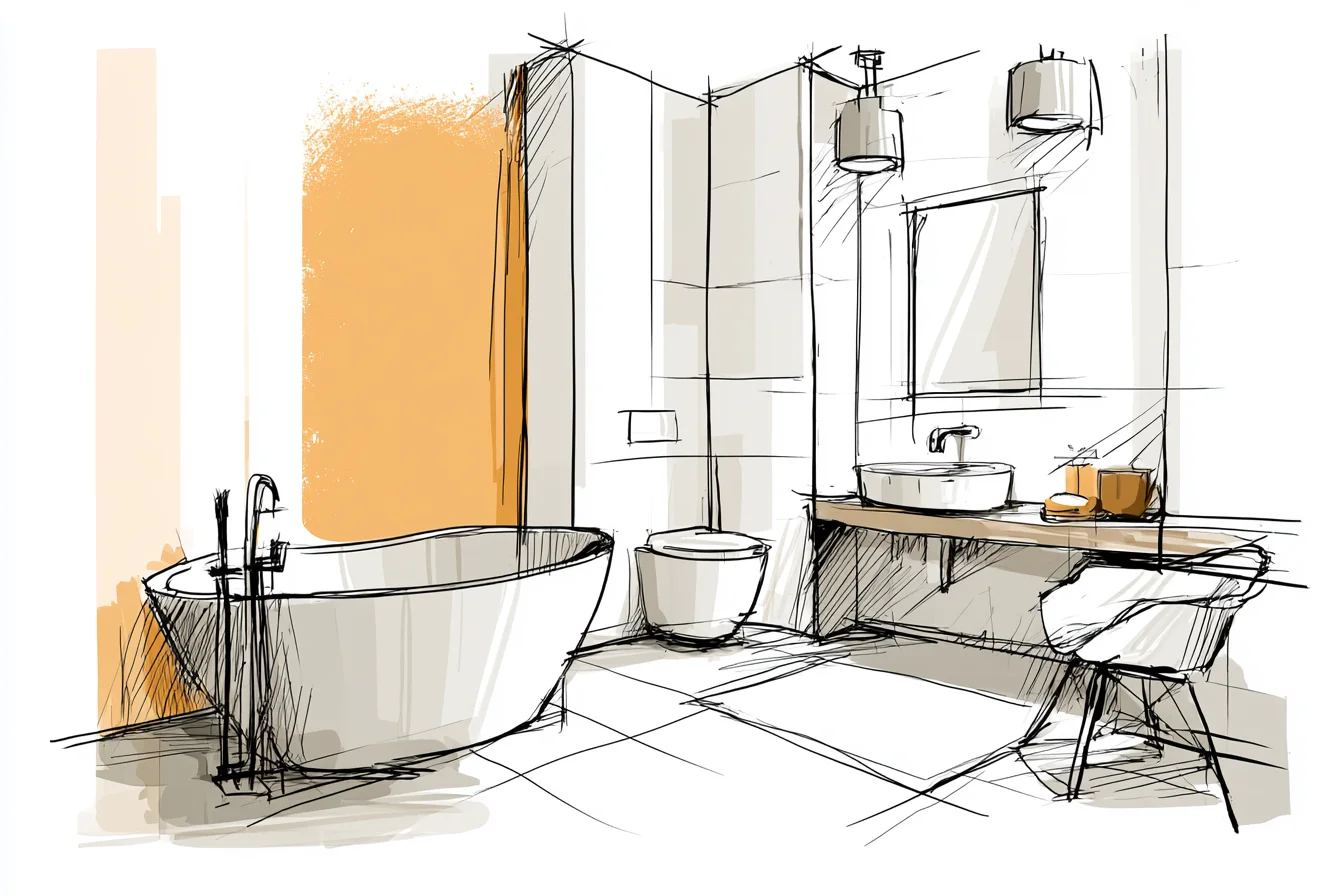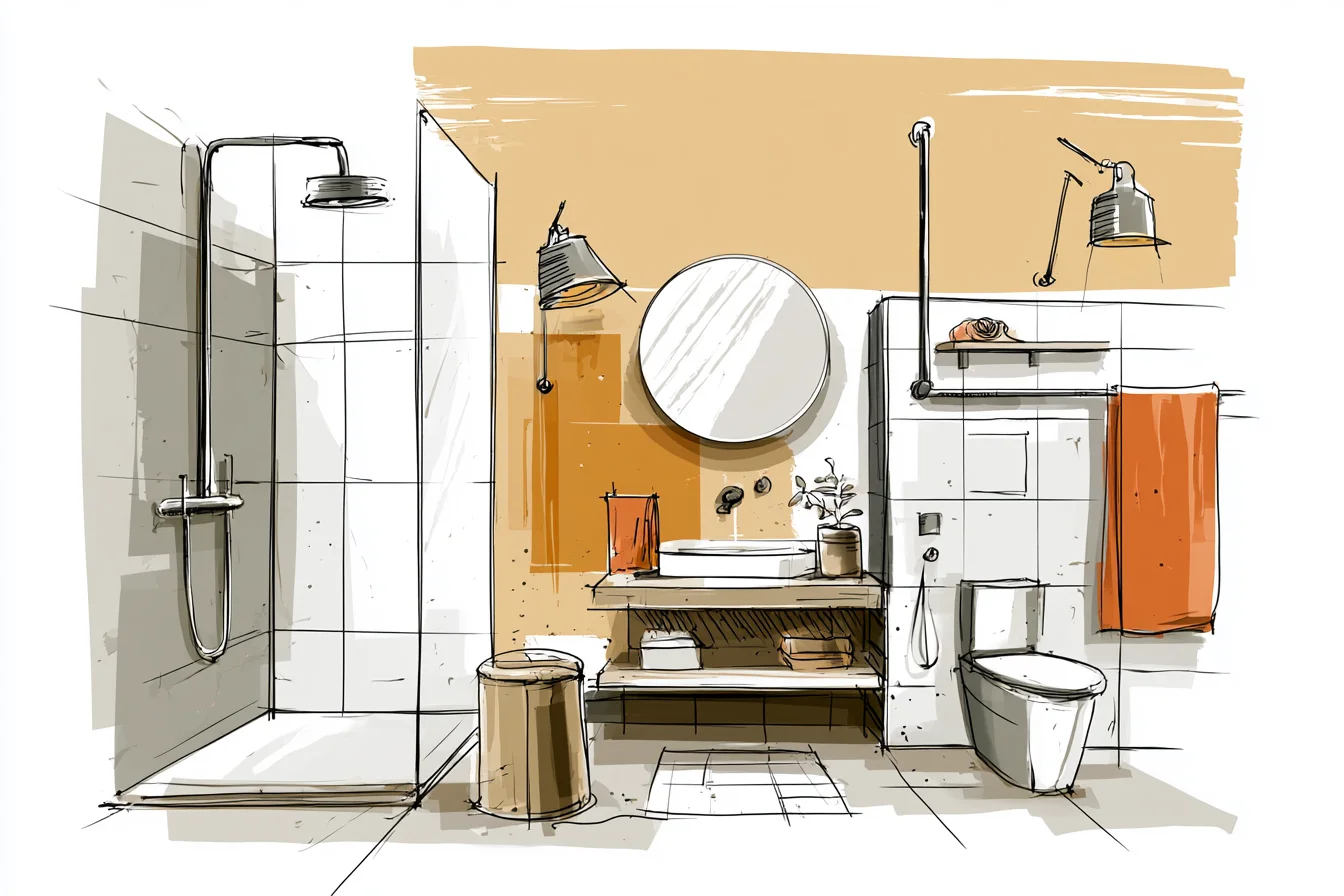
Did you ever try to take a shower in one of those outrageously small bathrooms where washing your hair feels like a Tetris puzzle? I have. Believe me when I say that if you’ve ever owned or rented one of these microscopic bathrooms, you understand how every tile decision is magnified tenfold.
My very first shower renovation project was one of these porcelain doll bathrooms. This was also my first ‘adulting’ renovation fail. I rented a flat with a bathroom the size of a closet and the previous tenant didn’t think twice about installing oversized 12-inch marble-looking tiles on every wall.
BIGGER. FAIL.
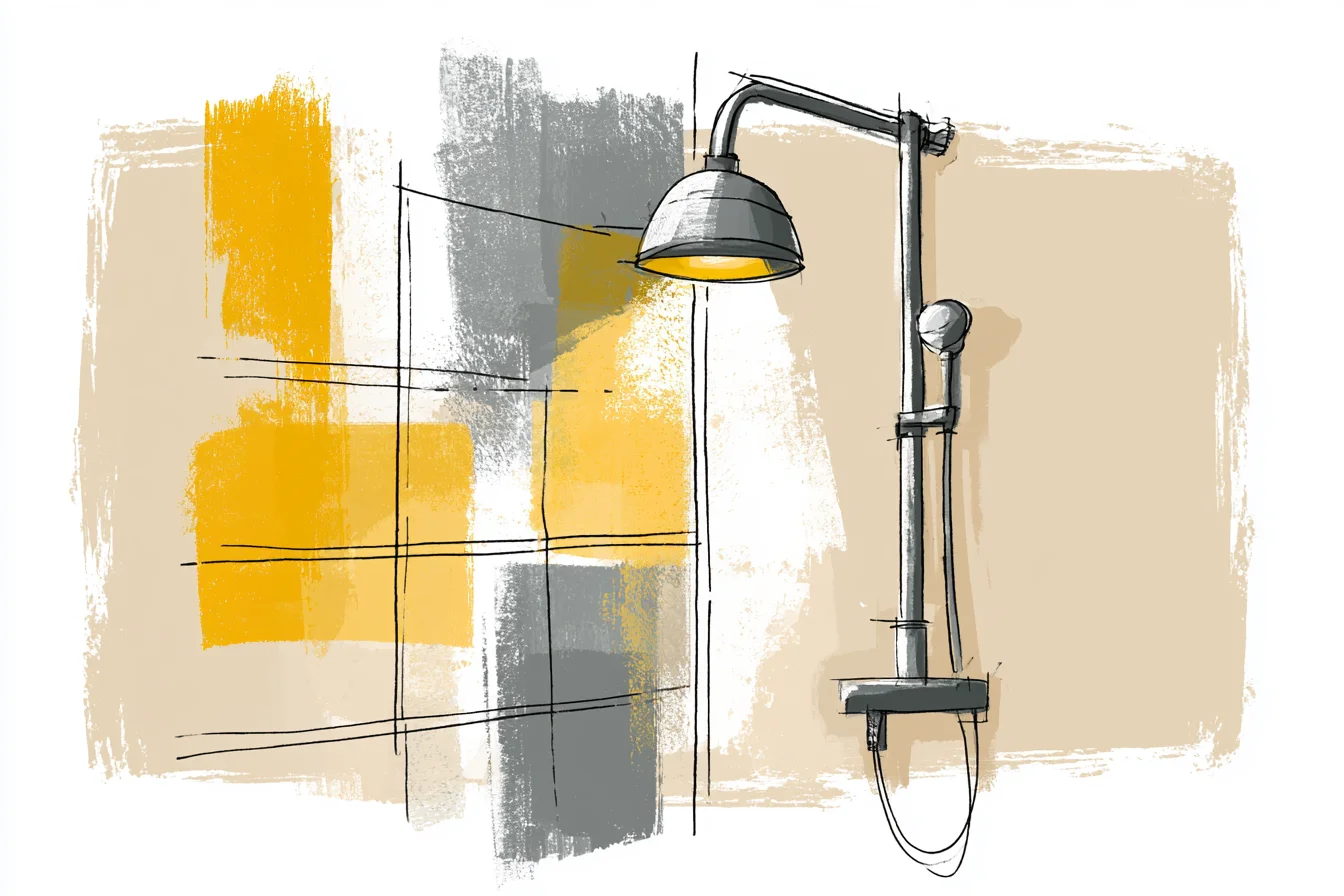
Those giant tiles made the bathroom feel smaller than it already was, and coming from California where most showers are larger than this gal’s entire apartment in NYC, I vowed to never make the same mistake again.
Let’s just say my hatred for that shower turned into a lifelong passion for tiny bathrooms. One of these days I’ll go back and take ‘before and after’ pictures, but for now let me share everything I’ve learned about designing small showers. Lesson #1 – Size DOES matter Okay, so before I got uber-designer about my next shower, I spent some time doing research.
Dragging home tile after tile sample to compare in my closet bathroom, holding them up to the walls while my flatmate complained about my excitement. What I learned was counter-intuitive; those teeny tiny mosaic tiles you think are cute for a small shower? Hideous to clean.
Soap scum collects in the teeny tiny grout lines and cleaning every inch of that grout when you can barely move around to dry yourself is downright depressing. I ended up choosing 4×12 inch subway tiles hung vertically. The tall lines force your eyes up towards the ceiling, making the room feel larger.
There are also far fewer grout lines to clean! And they’re timeless, which is something to consider if you’re putting effort into a rental. Lesson #2 – Beware of ‘bright white’ I will admit, I was swayed by the whole clean-and-bright look.
White subway tiles? Check. White glossy mortar?
Check. But while the shower did feel larger, it also showed EVERY water spot, streak of soap scum, and other unmentionables. After a month of obsessive cleaning I gave up and went on a search for the hardest-to-stain tiles around.
Tip: Always go with off-white or light grey for small showers. They still allow light to bounce around, creating that larger-than-life illusion, but they forgive you when life happens. I’ve used the same off-white dove grey tiles in three different bathrooms since then, and every client raves about how ‘clean’ their shower looks.
Lesson #3 – traction is everything Speaking of cleaning, let’s talk about traction. There’s no wiggle room for error in a small shower, and by that I mean if you slip it’s far easier to fall since there’s less room to maneuver and break your fall. It wasn’t until I slid face-first into the shower wall while reaching for shampoo that I really started to think about traction.
You hear people say to get textured tiles to keep from slipping, but trust me when I say those little bumps are a nightmare to clean in an already-small space. Soap and bacteria collect in those grooves and you’ll be scrubbing for days. Instead, look for tile with a matte finish rather than glossy.
The lack of shine provides just enough traction without compromising cleanliness. Lesson #4 – drain placement is key Believe it or not, where you place that drain matters, especially in a small shower. We chose to put our drain along the side of one wall rather than the typical center drain.
This allows us to slope the entire shower towards one wall rather than four quadrants towards a center point. Not only does this prevent leftover water from pooling in the corners after a shower, but we also gained about 6″ of space by not having to awkwardly tile around a centered drain. Lesson #5 – pick the right pattern When it comes to shower wall patterns, less is more in a small shower.
You Might Also Like
I’ve seen some people go crazy with large, busy patterns in small spaces thinking it’ll make the room more ‘interesting’. News flash: when you’re squished up against that pattern every time you shower, ‘interesting’ quickly becomes overwhelming. I learned this the hard way when I tried to DIY my own black and white hexagon pattern shower.
It looked AMAZING in the tile store but inside my teeny shower it felt like a prison shower during an earthquake. Simple patterns are best when you lack space. Something as basic as running bond (aka brick pattern) can help add interest to an otherwise boring shower.
Or, you can keep it super simple and install your tiles in a straight stack pattern. I love this look for really tiny spaces using 6×24 inch tiles. It makes the room feel much larger and every guest who showers there comments on how spa-like it looks.
Pro tip: your tiny bathroom will feel bigger instantly by installing larger tiles. Lesson #6 – it’s all about the undertones Did you know tile comes in warm or cool undertones? Be sure to check the temperature when shopping for tiles.
Cool-toned tiles like greys and blues help a small space feel larger but can also make the space feel colder. Warm-colored tiles like creams and soft beiges create a cozy vibe but can make the space feel more closed in. My solution?
Neutral tiles with warm undertones. They make the space feel larger without feeling too clinical. Lesson #7 – tile the shower ceiling This one sounds crazy but hear me out.
Once I found the perfect tile for my shower, I decided to run it up and over the shower ceiling. Doing this creates an illusion of larger space since there is no visual stopping point where the wall ends and ceiling starts. Plus, it just looks insanely high-end.
The tiles were only an extra £60 but it made the entire bathroom feel like it cost hundreds more. Lesson #8 – plan to maintain Small showers require daily maintenance since everything is up against your body. You learn really quickly what works and what doesn’t since you’re cleaning those tiles every week.
My biggest lesson when it comes to maintenance is always testing shower products on sample tiles before installing. Pull out the shampoo and conditioner and squeeze it onto a tile you’re considering. Let it set for 24 hours then see how difficult it is to clean.
You’d be amazed how many tiles that look the same handle completely different when exposed to real shower products. Lesson #9 – choose your grout wisely Last but not least, grout. Oh grout.
Did you know there’s different types of grout? Well there is!

I always recommend using epoxy grout in any shower area.
It’s stain-resistant, doesn’t hold on to bacteria like normal grout and in a small shower where every surface is highlighted that’s a game changer. Just make sure you hire someone who knows what they’re doing since it can be difficult to install. While epoxy grout is more expensive, it’s totally worth it.
You can also choose a grout color that’s a touch darker than your tile color. White grout shows every stain, shadow and laughable attempt at cleaning. Darker grout hides!
My favorite small shower to date is what I have in my NYC apartment now. We did 3×6 inch white subway tiles with soft grey grout on the back wall in a herringbone pattern. The side walls we kept simple with straight stacked tiles.
It gives the shower some interest without being over the top, it’s simple enough to deal with on a daily basis, and best of all it doesn’t make me hate myself when I need to clean it! The moral of this ridiculously long story is that sometimes the best design decisions are the ones you don’t notice because they’re just that perfect.